IKEA Kitchen Cabinets Installation Guide: Simplify Your Kitchen Renovation Process
Are you planning to renovate your kitchen and install new cabinets? It can be a daunting task to figure out where to start, especially if you have never done it before. But don’t worry, we have got you covered! In this article, we will guide you through the process of installing IKEA kitchen cabinets, making your renovation process simpler and stress-free.
IKEA is a popular choice for kitchen cabinets because of their affordability, durability, and stylish designs. However, the installation process can be complicated, and it’s essential to follow the instructions carefully to ensure that your cabinets are installed correctly. So, let’s dive into the step-by-step guide and simplify your kitchen renovation process!
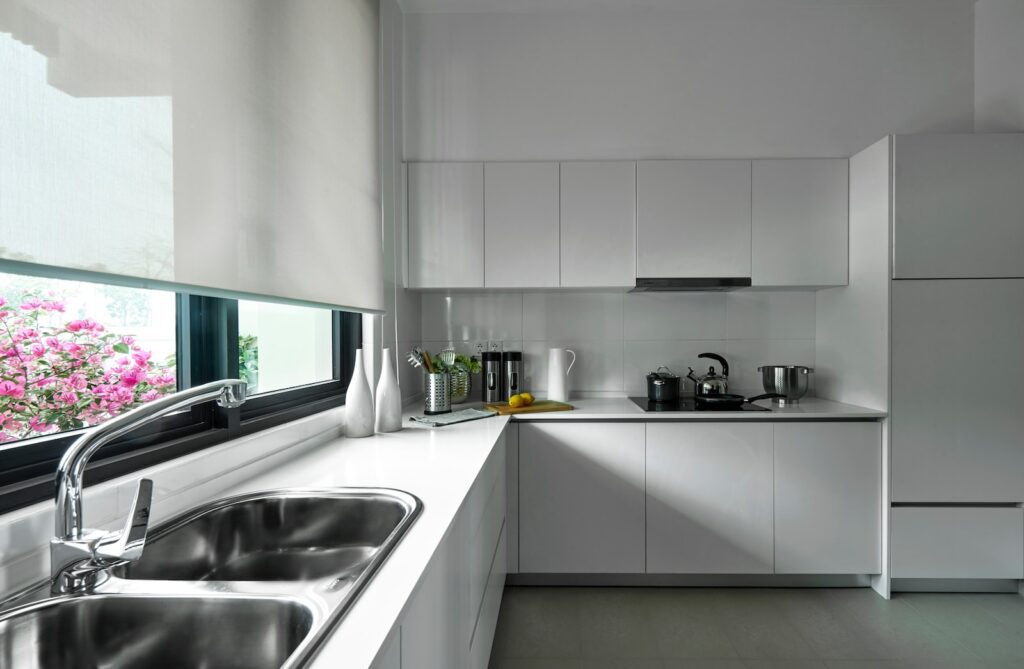
IKEA Kitchen Cabinets Installation Guide: Simplify Your Kitchen Renovation Process
Are you renovating or remodeling your kitchen? Installing new cabinets is an excellent way to update your kitchen’s style and functionality. However, the installation process can be complicated and time-consuming, especially if you don’t have prior experience. That’s where IKEA kitchen cabinets come in. IKEA is known for its easy-to-assemble furniture, and their kitchen cabinets are no exception. In this guide, we will walk you through the process of installing IKEA kitchen cabinets, making your kitchen renovation process a breeze.
Step 1: Planning and Preparation
The first step in any successful renovation is planning and preparation. Before you start installing your IKEA kitchen cabinets, you need to measure your kitchen space and create a design plan. Measure the height, width, and depth of your kitchen walls and floor, and take note of any obstacles such as windows, doors, and electrical outlets. Use IKEA’s online kitchen planner tool to create a 3D model of your kitchen, including cabinets, appliances, and countertops. This tool will help you visualize your final design and ensure that you have all the necessary parts and accessories for installation.
Next, you need to prepare your kitchen space for installation. Clear out all the old cabinets, appliances, and debris from your kitchen. Cover the floors and countertops with protective materials to prevent damage during the installation process. Make sure you have all the necessary tools and accessories, including a power drill, screwdrivers, level, measuring tape, and mounting hardware.
Step 2: Assembling IKEA Kitchen Cabinets
IKEA kitchen cabinets come in flat-pack boxes, and you need to assemble them before installation. The good news is that IKEA cabinets are easy to assemble, and you don’t need any special skills or tools. Each cabinet comes with clear instructions, and you can also watch IKEA’s online video tutorials for additional guidance.
Start by assembling the cabinet frames and attaching the legs or suspension rails. Then, install the shelves, drawers, and doors according to the instructions. Make sure that all the parts are securely fastened and level. You can also customize your cabinets by adding accessories such as lighting, organizers, and handles.
Step 3: Installing IKEA Kitchen Cabinets
Once you have assembled your IKEA kitchen cabinets, it’s time to install them in your kitchen. Start by installing the upper cabinets first, using the suspension rail system. This system allows you to hang the cabinets from a metal rail that is attached to the wall. The rail ensures that the cabinets are level and secure, and you can easily adjust the height and position of the cabinets.
Next, install the base cabinets, using adjustable legs to level them on uneven floors. Attach the cabinets to each other and to the wall, using the provided mounting hardware. Make sure that the cabinets are level and plumb, and that the doors and drawers open and close smoothly.
Step 4: Adding Countertops and Appliances
After you have installed your IKEA kitchen cabinets, it’s time to add the finishing touches. Install your countertops, using adhesive and brackets to secure them to the cabinets. You can choose from a variety of countertop materials, including laminate, quartz, and granite.
Finally, install your appliances, such as your oven, dishwasher, and refrigerator. Make sure that they fit properly and are level, and that you have the necessary electrical and plumbing connections. You can also add accessories such as a range hood, backsplash, and under-cabinet lighting to complete your kitchen renovation.
Benefits of Installing IKEA Kitchen Cabinets
Installing IKEA kitchen cabinets has several benefits, including:
– Easy to assemble and install, even for beginners
– Affordable, compared to custom-made cabinets
– Customizable, with a variety of styles, colors, and accessories
– Durable, with a 25-year warranty on all IKEA kitchen cabinets
– Sustainable, with eco-friendly materials and production processes
VS Custom Made Cabinets
While custom-made cabinets offer more design flexibility and unique style options, they can be expensive and time-consuming to manufacture and install. IKEA kitchen cabinets are a great alternative, offering high-quality materials, modern designs, and easy installation at an affordable price. With IKEA cabinets, you can achieve a custom look without breaking the bank or spending months on the installation process.
Conclusion
In conclusion, installing IKEA kitchen cabinets is an excellent way to simplify your kitchen renovation process. With their easy assembly, customization options, and affordable price, IKEA cabinets are an excellent choice for any homeowner. By following this installation guide, you can achieve a beautiful and functional kitchen that will last for years to come.
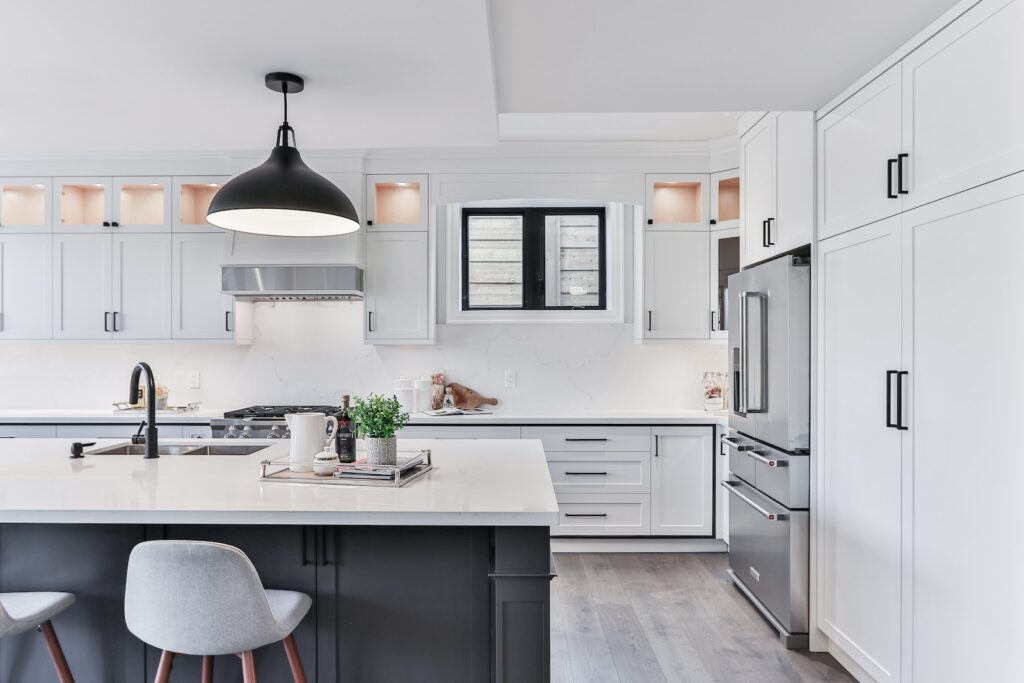
Frequently Asked Questions
What tools do I need to install IKEA kitchen cabinets?
To install IKEA kitchen cabinets, you will need a few basic tools including a measuring tape, level, drill, screwdriver, circular saw, jigsaw, and a hammer. It is also recommended to have a helper to assist with the installation process.
Before beginning the installation process, make sure you have all the necessary tools and materials. It’s important to properly measure and plan the installation to ensure a smooth and successful installation process.
Can I install IKEA kitchen cabinets myself?
Yes, you can install IKEA kitchen cabinets yourself. The cabinets are designed for easy installation with the help of detailed instructions provided in the installation guide. However, it is recommended to have some experience with DIY projects and working with tools to ensure a successful installation.
If you are unsure about the installation process, it is always best to seek professional help to avoid any costly mistakes or accidents.
How long does it take to install IKEA kitchen cabinets?
The time it takes to install IKEA kitchen cabinets varies depending on the size of the kitchen and the complexity of the installation. On average, it takes approximately 2-3 days to install a standard-sized kitchen with basic cabinets.
If the installation process includes additional features such as a kitchen island or custom cabinets, it may take longer to complete the installation process.
What should I do if I encounter any problems during the installation process?
If you encounter any problems during the installation process, it is recommended to refer to the installation guide provided by IKEA. The guide includes detailed instructions and troubleshooting tips to address common problems that may arise during the installation process.
If the problem persists or you are unsure about how to proceed, it is best to seek professional help to avoid further damage to the cabinets or any accidents.
Do I need to hire a professional to install IKEA kitchen cabinets?
No, you do not need to hire a professional to install IKEA kitchen cabinets. The cabinets are designed for easy installation with the help of detailed instructions provided in the installation guide.
However, if you are unsure about the installation process or do not have experience with DIY projects and working with tools, it is recommended to seek professional help to ensure a successful installation and avoid any costly mistakes or accidents.
Remodel Your Kitchen with IKEA and Save Money!
In conclusion, renovating your kitchen can be a daunting task, but with the IKEA Kitchen Cabinets Installation Guide, it doesn’t have to be. The guide simplifies the process and makes it more manageable for you to achieve your dream kitchen.
By following the instructions provided in the guide, you can save time and money while still achieving a professional-looking result. Plus, you have the added benefit of knowing that your cabinets are made with sustainable materials, making your kitchen not only beautiful but also eco-friendly.
So whether you are a seasoned DIYer or a first-time renovator, the IKEA Kitchen Cabinets Installation Guide is an excellent resource to simplify your kitchen renovation process. With step-by-step instructions and helpful tips, you can transform your kitchen into a space that reflects your personal style and meets your functional needs.

