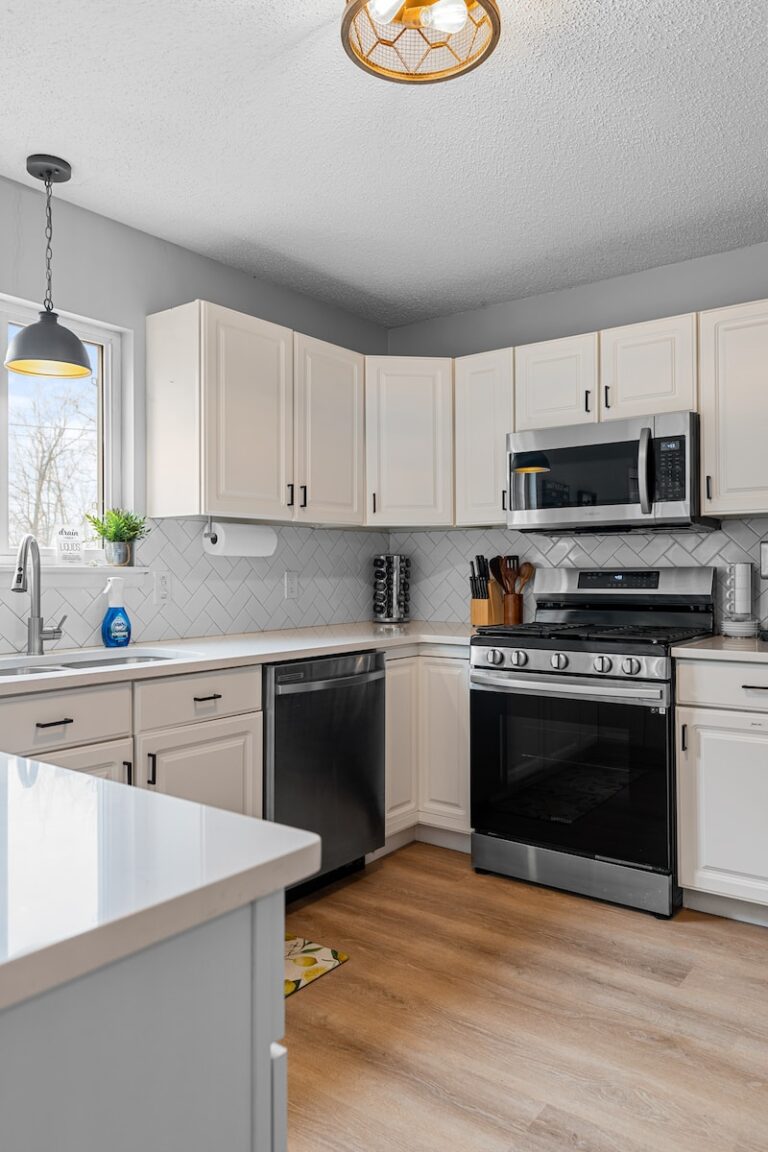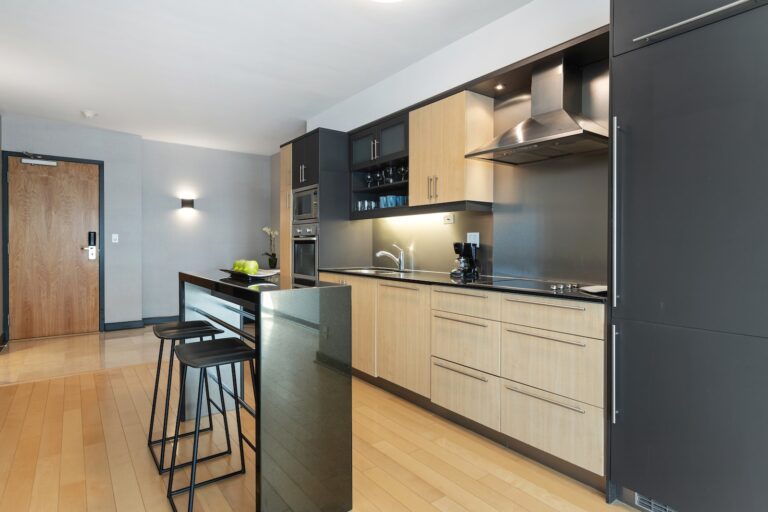
How To DIY Paint Kitchen Cabinets?
Are you looking for a budget-friendly way to give your kitchen a fresh new look? Painting your kitchen cabinets is a great DIY project that can transform the entire space. Not only is it cost-effective, but it also allows you to add your personal touch to your kitchen design. In this guide, we’ll take you through the step-by-step process of painting your kitchen cabinets and give you helpful tips to create a professional-looking finish. So, let’s get started and give your kitchen a much-needed makeover!
- Clean the cabinets properly with a degreaser and sand them down.
- Apply a coat of primer and let it dry completely before painting.
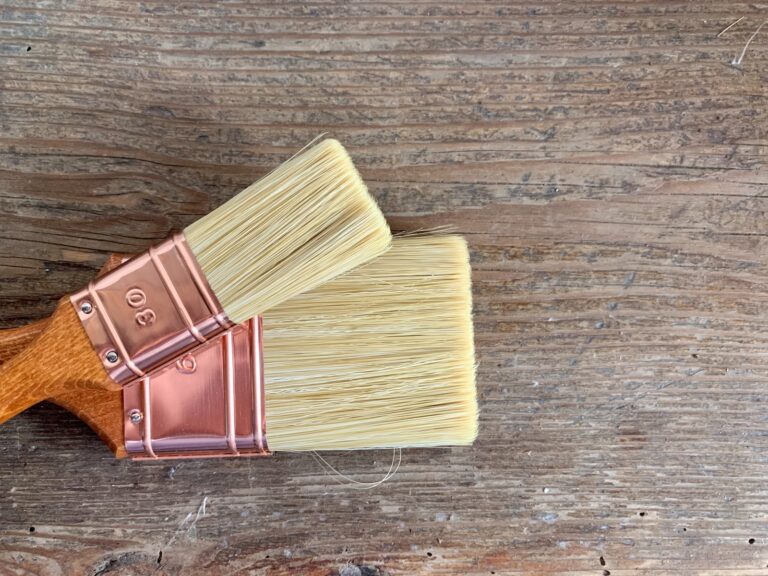
- Use a brush or roller to apply the paint in thin layers.
- Let the paint dry between each coat and give it a light sanding before applying the next coat.
- Finish with a topcoat to protect the paint and give it a smooth finish.

DIY Guide: How to Paint Your Kitchen Cabinets
Kitchen cabinets are an essential part of any kitchen, and they are often the first thing that people notice when they walk into the room. Over time, cabinets can become dull and outdated, and homeowners may want to update the look of their kitchen. One way to achieve this is by painting the cabinets. However, painting kitchen cabinets can be a daunting task for those who have never done it before. This DIY guide will help you paint your kitchen cabinets like a pro.
1. Choose the Right Paint
The first step in painting your kitchen cabinets is choosing the right paint. You want to use a high-quality paint that is specifically designed for cabinets and will hold up well over time. Look for a paint that is durable, washable, and has a smooth finish. You can choose between oil-based or water-based paints, but water-based paints are recommended for beginners because they are easier to work with and clean up.
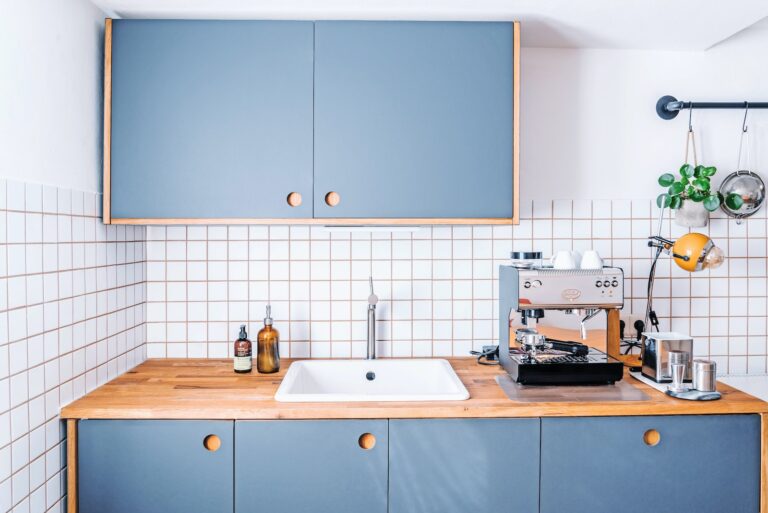
When choosing a color, consider the overall look and feel of your kitchen. Do you want a bold and bright color or a more subtle and neutral shade? Keep in mind that lighter colors will make your kitchen feel more spacious, while darker colors will add warmth and coziness.
2. Remove Cabinet Doors and Hardware
Before you start painting, you need to remove the cabinet doors and hardware. This will make it easier to paint the cabinets and ensure that you get an even coat. Use a screwdriver to remove the hardware, and label each door and piece of hardware so you know where everything goes when it’s time to reassemble.
3. Clean and Prep the Cabinets
Once the doors and hardware are removed, it’s time to clean and prep the cabinets. Start by wiping down the cabinets with a damp cloth to remove any dirt and grime. Then, use a degreaser to remove any grease or oil buildup. Sand the cabinets lightly to scuff up the surface and help the paint adhere better. Finally, use a tack cloth to remove any dust or debris.
4. Prime the Cabinets
Before you start painting, it’s important to prime the cabinets. This will help the paint adhere better and ensure that the cabinets have a smooth and even finish. Apply a thin coat of primer to the cabinets using a brush or roller, and let it dry completely before painting.
5. Paint the Cabinets
Now it’s time to paint the cabinets. Start by applying a thin coat of paint to the cabinets using a brush or roller. Be sure to use long, even strokes and apply the paint in the direction of the wood grain. Let the first coat dry completely before applying a second coat. You may need to apply a third coat depending on the color and finish you are trying to achieve.
6. Reattach the Hardware and Doors
Once the cabinets are dry, it’s time to reattach the hardware and doors. Use the labels you created earlier to ensure that everything goes back in the right place. Tighten the hardware and make any necessary adjustments to ensure that the doors are level and open and close smoothly.
7. Clean Up
After you have finished painting your cabinets, it’s important to clean up properly. Clean your brushes and rollers with soap and water if you used water-based paint. If you used oil-based paint, you will need to use mineral spirits to clean your brushes and rollers. Dispose of any paint cans and other materials properly.
8. Benefits of Painting Your Kitchen Cabinets
Painting your kitchen cabinets is a great way to update the look of your kitchen without breaking the bank. It’s a cost-effective way to give your kitchen a facelift and make it feel fresh and new. Plus, painting your cabinets is a DIY project that you can do yourself, which means you can save money on labor costs.
9. Painting Your Cabinets vs. Replacing Them
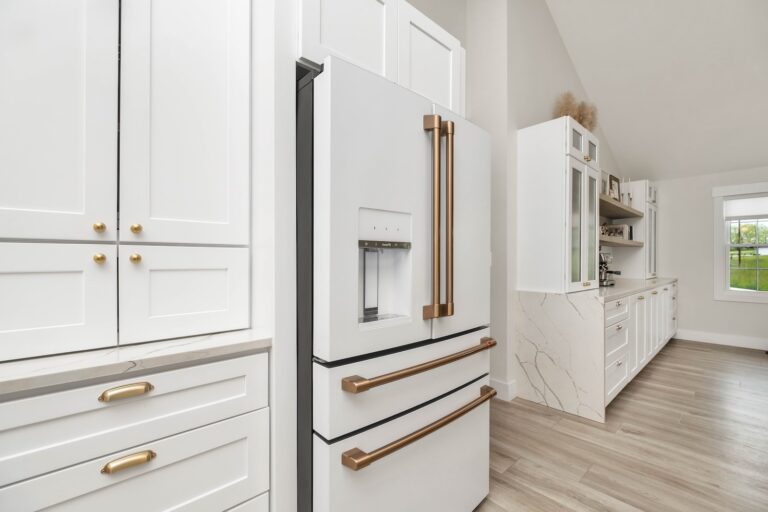
If your kitchen cabinets are in good shape but just need a little sprucing up, painting them is a great option. It’s much more affordable than replacing your cabinets, and it can give you the same results. Plus, painting your cabinets is a much easier and less intrusive process than replacing them, which means you can have a brand new kitchen in no time.
Final Thoughts
Painting your kitchen cabinets is a great DIY project that can give your kitchen a fresh new look. By following these steps and using the right materials, you can achieve a professional-looking finish that will last for years to come. Whether you want to go bold with a bright color or keep it subtle with a neutral shade, painting your cabinets is a great way to update your kitchen and make it feel like new again.
Frequently Asked Questions
Here are some commonly asked questions about painting kitchen cabinets:
What kind of paint should I use to paint my kitchen cabinets?
The type of paint you use is essential to the success of your project. For kitchen cabinets, it is best to use a high-quality, oil-based paint. Oil-based paints provide a durable and smooth finish that is resistant to stains, scratches, and moisture. You can also use a water-based paint, but it may not be as durable as oil-based paint.
Before painting, it is important to clean and sand your cabinets thoroughly. This will ensure that the paint adheres properly and provides a smooth finish. You should also use a primer before painting to help the paint adhere and provide a smooth finish.
Do I need to remove my cabinet doors before painting them?
While you don’t necessarily need to remove your cabinet doors, it is highly recommended. This will make it easier to paint all surfaces evenly and ensure that you don’t accidentally paint over any hardware. Additionally, removing the doors will allow you to paint them in a separate area, which will help prevent any drips or runs from ruining the finish.
If you choose not to remove your cabinet doors, be sure to tape off any hardware or other areas you don’t want to paint. You should also be extra careful when painting to avoid drips or runs.
Can I paint over my existing painted cabinets?
If your cabinets are already painted, you can paint over them, but you will need to take some extra steps to ensure that the new paint adheres properly. Start by cleaning and sanding your cabinets to remove any dirt, grease, or gloss from the previous paint job. Then, apply a coat of primer to help the new paint adhere properly.
If your cabinets have any chips or scratches, it is best to fill them in with wood filler before painting. This will ensure that the finished product looks smooth and even.
How long does it take to paint kitchen cabinets?
The time it takes to paint your kitchen cabinets will depend on a few factors, such as the size of your kitchen, the condition of your cabinets, and the type of paint you are using. However, as a general rule, you can expect the project to take about a week from start to finish.
This includes time for cleaning, sanding, priming, painting, and allowing the paint to dry between coats. It is important to take your time and not rush the process, as this can lead to a less-than-perfect finish.
Do I need to hire a professional to paint my kitchen cabinets?
You do not necessarily need to hire a professional to paint your kitchen cabinets, but it can be a good idea if you are not experienced with painting or DIY projects. A professional can ensure that the job is done right and provide a high-quality finish that will last for years.
However, if you are confident in your DIY skills and have the time and patience to do the job right, you can certainly tackle the project yourself. Just be sure to follow all of the proper steps and take your time to ensure a professional-looking finish.
Painting your kitchen cabinets can be a fun and rewarding DIY project that can transform the look of your kitchen. With the right tools, materials, and techniques, you can achieve a professional-looking finish that will last for years to come.
When choosing your paint, make sure to select a high-quality paint that is specifically designed for cabinets. Consider using a primer to help the paint adhere and ensure a smooth finish. Take your time with the preparation and application process to ensure a clean and even finish.
Finally, don’t be afraid to get creative with your color choices and finishing techniques. Whether you prefer a classic white or want to add a pop of color, there are endless possibilities for customizing your cabinets to fit your personal style. So, get your tools ready and start transforming your kitchen today!