How To Paint Vinyl Kitchen Cabinets?
Are you tired of looking at your outdated and dull vinyl kitchen cabinets? Are you ready to give your kitchen a fresh and modern look? Painting vinyl cabinets is a budget-friendly and practical solution that can transform the overall appearance of your kitchen. With the right tools and techniques, you can achieve a professional-looking finish that will last for years to come.
In this guide, we will walk you through the step-by-step process of painting vinyl kitchen cabinets. From preparing the surfaces to choosing the right paint and applying the coats, we’ll cover everything you need to know to achieve a flawless finish. Whether you’re a DIY enthusiast or a beginner, this guide will help you tackle this project with confidence and ease. So, let’s get started!
Painting Vinyl Kitchen Cabinets: A Step-by-Step Guide
Are you tired of your old and outdated vinyl kitchen cabinets, but don’t want to spend a fortune on new ones? Painting your cabinets is a cost-effective way to update your kitchen and give it a fresh new look. While vinyl cabinets can be a bit trickier to paint than wood, with the right tools and techniques, you can achieve a professional-looking finish. Here’s a step-by-step guide to painting your vinyl kitchen cabinets.
Preparation
Before you begin painting, it’s essential to prepare your cabinets properly. Start by removing all cabinet doors and hardware, including hinges, knobs, and handles. Clean the cabinets thoroughly with a degreaser to remove any built-up grime or grease. Sand the cabinets lightly with 220-grit sandpaper to roughen up the surface and help the paint adhere better. Finally, wipe down the cabinets with a tack cloth to remove any dust or debris.
Materials you’ll need:
- Degreaser
- 220-grit sandpaper
- Tack cloth
- Painter’s tape
- Primer
- Paint
- Paintbrushes
- Roller and roller cover
Tip:
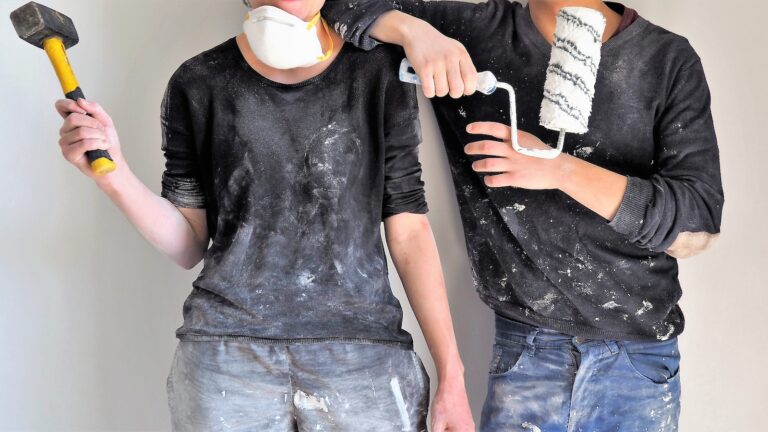
Make sure to choose a well-ventilated area to paint in, as the fumes from the paint and primer can be harmful. It’s also a good idea to wear a mask and gloves to protect yourself.
Priming
Priming is an essential step in painting your vinyl cabinets. It helps the paint adhere better and creates a smooth surface for painting. Apply a coat of primer to your cabinets, using a paintbrush or roller. Let the primer dry completely before moving on to the next step.
Tip:
Make sure to use a high-quality primer specifically designed for vinyl surfaces. This will ensure that the primer adheres properly and creates a smooth surface for painting.
Painting
Once the primer is dry, it’s time to start painting. Use a paintbrush or roller to apply a thin, even coat of paint to your cabinets. Let the first coat dry completely before applying a second coat. Repeat this process until you achieve the desired color and coverage.
Tip:
Use a high-quality paint specifically designed for vinyl surfaces. This will ensure that the paint adheres properly and creates a smooth, durable finish that will last for years.
Finishing
Once your cabinets are painted and dry, it’s time to reattach the hardware and cabinet doors. Use painter’s tape to protect any areas you don’t want to be painted, such as the hinges or knobs. Finally, give your cabinets a final wipe down with a tack cloth to remove any dust or debris.
Tip:
For an extra-durable finish, consider applying a clear coat of polyurethane to your cabinets. This will help protect the paint from scratches and wear and tear.
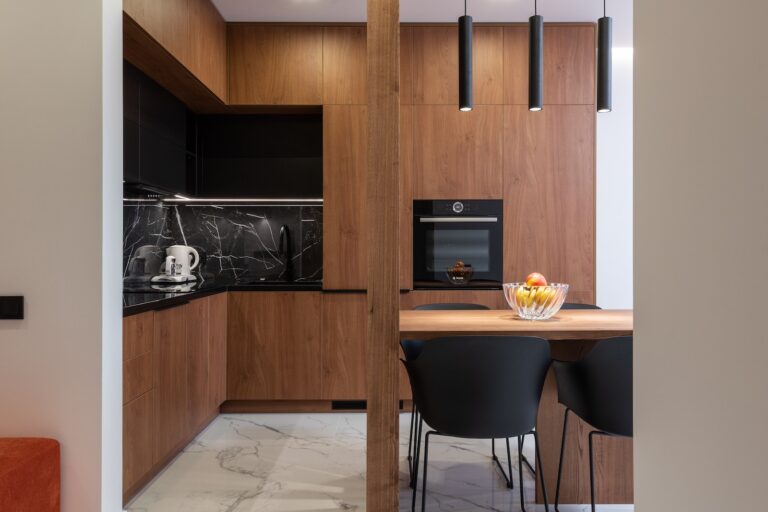
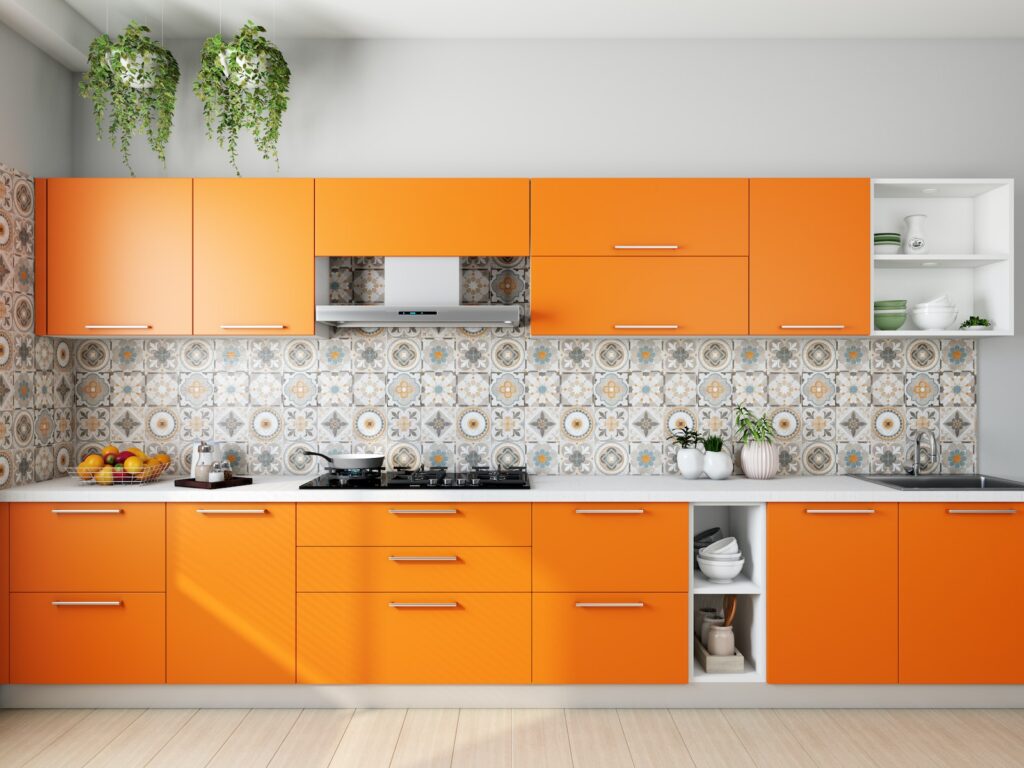
Benefits of Painting Vinyl Cabinets
There are several benefits to painting your vinyl kitchen cabinets. First and foremost, it’s a cost-effective way to update your kitchen and give it a fresh new look. It’s also a quick and easy DIY project that can be completed in just a weekend. Finally, painting your cabinets can help protect them from wear and tear and extend their lifespan.
Painting Vinyl Cabinets vs. Replacing Them
While replacing your kitchen cabinets may seem like the best option, it can be a costly and time-consuming process. Painting your vinyl cabinets is a much more affordable and practical solution. It allows you to update your kitchen without breaking the bank, and it can be completed in just a fraction of the time.
Tip:
If you’re not sure about the color or finish you want for your cabinets, consider painting a small test area first. This will allow you to see how the paint looks in your kitchen and make any necessary adjustments before committing to painting the entire set of cabinets.
In conclusion, painting your vinyl kitchen cabinets is a cost-effective and practical way to update your kitchen and give it a fresh new look. With the right tools and techniques, you can achieve a professional-looking finish that will last for years to come. So why not give it a try and see the difference it can make in your home?
Frequently Asked Questions
Here are some common questions and answers regarding painting vinyl kitchen cabinets.
What materials do I need to paint vinyl kitchen cabinets?
To paint vinyl kitchen cabinets, you will need the following materials:
- Paint primer
- Paintbrushes (2-3 different sizes)
- Paint roller and tray
- Sandpaper (220 grit)
- TSP cleaner
- Painter’s tape
- Latex paint
Make sure to choose a paint color that complements your kitchen decor and style. You may also want to consider using a gloss or semi-gloss finish for added durability and easy cleaning.
How do I prepare vinyl kitchen cabinets for painting?
Before painting, it is essential to prepare the vinyl kitchen cabinets properly. Start by removing all cabinet doors and hardware, including knobs and hinges. Clean the cabinets thoroughly with TSP cleaner to remove any dirt, grease, or stains. Then, use 220-grit sandpaper to rough up the surface of the cabinets, creating a suitable surface for the primer to adhere to. Wipe down the cabinets with a clean, damp cloth to remove any dust or debris.
Finally, apply painter’s tape to any areas you don’t want to paint, such as the walls or countertops, to protect them from paint splatters or drips.
Do I need to use a primer when painting vinyl kitchen cabinets?
Yes, it is highly recommended to use a primer when painting vinyl kitchen cabinets. A primer will help the paint adhere better to the surface, prevent stains or discoloration from bleeding through, and increase the durability and longevity of the paint job. Choose a high-quality primer that is compatible with vinyl surfaces and follow the manufacturer’s instructions for application.
Allow the primer to dry completely before applying the paint, usually for about 24-48 hours, depending on the brand and humidity levels.
What is the best paint to use for vinyl kitchen cabinets?
When painting vinyl kitchen cabinets, it is best to use a high-quality latex paint that is formulated for cabinets and trim. Look for a paint that is durable, washable, and formulated for high-traffic areas. Semi-gloss or gloss finishes are ideal for cabinets because they are easy to clean and resist moisture and staining. Avoid using oil-based paints, as they tend to yellow over time and are more difficult to clean up.
Choose a color that complements your kitchen decor and style, and apply 2-3 coats of paint, allowing each layer to dry thoroughly before applying the next one.
Can I paint vinyl kitchen cabinets without sanding?
While sanding is an essential step in preparing vinyl kitchen cabinets for painting, it is possible to skip this step if you use a deglosser or a liquid sander. These products dissolve the glossy finish of the vinyl cabinets, creating a rough surface that the primer can adhere to. However, it is still recommended to clean the cabinets thoroughly with TSP cleaner before applying the deglosser or liquid sander. Follow the manufacturer’s instructions carefully and wear protective gloves and goggles when using these products.
Keep in mind that skipping the sanding step may affect the durability and longevity of the paint job, so it is still best to sand the cabinets if possible.
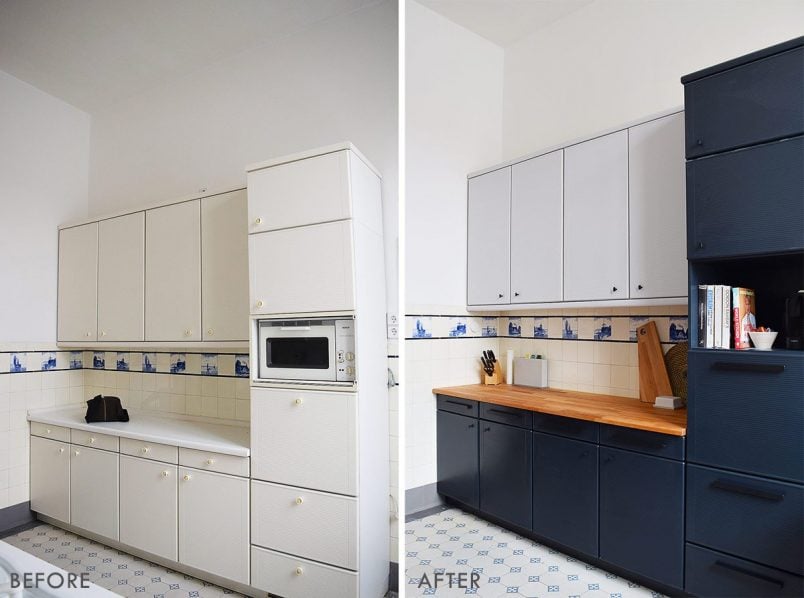
In conclusion, painting vinyl kitchen cabinets is a great way to give your kitchen a fresh and updated look without having to spend a lot of money on a complete renovation. By following the steps outlined in this guide, you can achieve a professional-looking finish that will last for years to come.
Remember, the key to success when painting vinyl cabinets is preparation. Make sure to clean and sand the cabinets thoroughly, and use a high-quality primer and paint to ensure proper adhesion and durability. Don’t forget to take your time and apply multiple coats for the best results.
In the end, painting your vinyl kitchen cabinets can be a fun and rewarding DIY project that can transform your kitchen into a beautiful and stylish space. So why wait? Grab your paintbrush and get started today!