How To Put Handles On Kitchen Cabinets?
Are you tired of struggling with your kitchen cabinets? Do you find yourself yanking on them with all your might just to open them? It may be time to add handles to your cabinets! Adding handles not only makes your cabinets easier to open, but it can also add a stylish touch to your kitchen decor.
In this guide, we’ll walk you through the steps of putting handles on your kitchen cabinets. Whether you’re a DIY enthusiast or a beginner, you’ll find this process to be simple and straightforward. So, let’s get started and transform your kitchen cabinets from frustrating to functional!
- Measure: Measure the distance between the screw holes to ensure the handles will fit properly.
- Drill: Use a drill bit that matches the size of the screws and drill holes where you want the handles to be placed.
- Screw: Place the screws into the holes and screw them in tightly, securing the handles onto the cabinets.
That’s it! Adding handles to your kitchen cabinets has never been easier.
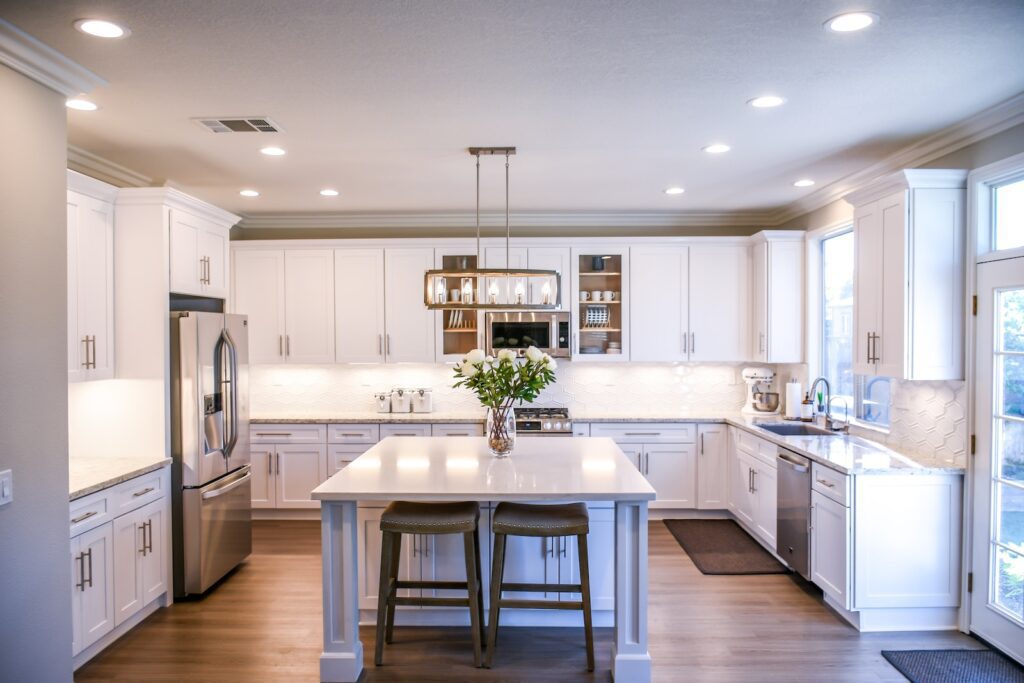
How To Put Handles on Kitchen Cabinets?
Putting handles on kitchen cabinets is a simple process that can be done in a few easy steps. Whether you’re renovating your kitchen or just making a small update, adding new handles to your cabinets can give your kitchen a fresh new look. In this article, we’ll walk you through the steps you need to take to put handles on your kitchen cabinets.
Step 1: Choose the Right Handles
Before you start installing handles on your kitchen cabinets, you need to choose the right handles that are suitable for your cabinets. Handles come in different sizes, shapes, and styles, so you should consider what will look best with your kitchen decor. You can choose handles that match your kitchen cabinets or go for something different to create a contrast.
When choosing handles, you should also consider the size of your cabinets. If you have large cabinets, you may want to choose larger handles to match the size of the cabinets. Conversely, if you have small cabinets, smaller handles may be more appropriate.
Step 2: Measure and Mark the Handle Placement
Once you have chosen the handles you want to use, the next step is to measure and mark the placement of the handles on your cabinets. Use a measuring tape to measure the distance between the two screw holes on the back of the handle, and then mark the same distance on the cabinet door.
Use a pencil to mark the center point of the handle on the cabinet door. This will help you to line up the handle properly when you attach it to the cabinet.
Step 3: Drill Holes for the Screws
After marking the handle placement, you need to drill holes on the cabinet door for the screws that will hold the handle in place. Use an electric drill with a drill bit that matches the size of the screws that came with your handle.
Place the drill bit on the mark you made for the screw hole and drill a hole through the door. Repeat the process for the second screw hole.
Step 4: Attach the Handles
With the holes drilled, it’s time to attach the handles to the cabinet doors. Insert the screws that came with the handles through the back of the handle and into the holes you drilled in the door. Use a screwdriver to tighten the screws until the handle is securely attached to the door.
Step 5: Repeat the Process
Repeat the above process for all the cabinet doors in your kitchen. Make sure to measure and mark the handle placement on each door to ensure consistency throughout your kitchen.
Benefits of Installing Handles on Kitchen Cabinets
Adding handles to your kitchen cabinets can bring several benefits to your kitchen. For one, it can give your kitchen a more polished and finished look. Handles can also make it easier to open and close your cabinets, especially if you have slippery or oily hands.
Handles can also protect your cabinets from wear and tear. When you open and close your cabinets frequently, your hands may leave marks on the surface, which can damage the cabinets over time. Handles can help to prevent this from happening by providing a barrier between your hands and the cabinet surface.
Conclusion
Installing handles on your kitchen cabinets is an easy and inexpensive way to update your kitchen and give it a fresh new look. By following the steps outlined in this article, you can install handles on your cabinets in no time. Remember to choose the right handles, measure and mark the placement, drill holes for the screws, and attach the handles securely to the doors. With your new handles in place, you can enjoy a more functional and stylish kitchen.
Frequently Asked Questions
What tools do I need to put handles on my kitchen cabinets?
To install handles on your kitchen cabinets, you will need a drill, a drill bit, a screwdriver, a measuring tape, a pencil, and the handles themselves. You may also need a level to ensure that the handles are installed straight.
Before you begin, make sure that your cabinets are clean and dry. If you have new cabinets, allow them to fully dry and air out before installing handles.
How do I measure where to put the handles on my cabinets?
Before you start drilling, you need to determine where to place the handles. The most common placement is in the center of the door or drawer, but you can also install them vertically or horizontally. Using a measuring tape, measure and mark where you want the handles to be with a pencil.
Make sure to measure accurately and double-check your markings before drilling. If you make a mistake, it can be difficult to fix without leaving visible holes in your cabinets.
What is the best way to drill holes for handles on my cabinets?
When you are ready to drill, use a drill bit that is the same size as the screws that came with your handles. Begin by making a small pilot hole in the center of your marking. Then, use the full-size drill bit to drill the hole to the depth of the screw.
Be sure to drill straight and avoid drilling all the way through the cabinet door or drawer. If you are unsure of your drilling skills, practice on a scrap piece of wood first to get a feel for the process.
How do I attach the handles to my cabinets?
Once the holes are drilled, it is time to attach the handles. Insert the screws through the back of the cabinet door or drawer and into the holes you just drilled. Use a screwdriver to tighten the screws, but be careful not to overtighten and strip the screws or damage the cabinets.
If you have trouble attaching the screws, you can also use a little bit of soap or wax on the threads to make them easier to turn.
Are there any tips for ensuring my handles are level and straight?
It is important to ensure that your handles are installed straight and level for a professional look. Use a level or a straight edge to check that the handles are lined up and straight before drilling.
If you are installing multiple handles, it can be helpful to make a template to ensure that they are all installed in the same location. You can also use masking tape to mark the exact placement of the handles before drilling.
How to Install Cabinet Door Handles & Pulls – Decorative Hardware Installation
In conclusion, putting handles on kitchen cabinets is a simple and easy task that can be done by anyone with a few basic tools and some patience. By following the steps outlined in this guide, you can add a stylish and functional touch to your kitchen cabinets.
First, measure and mark the placement for your handles to ensure a precise and even look. Then, drill the holes and attach the handles using screws or bolts. Finally, check and adjust the fit as necessary to ensure a snug and secure installation.
With a little practice and attention to detail, you can quickly and easily transform the look of your kitchen cabinets with new handles. So why not give it a try and see the difference for yourself? Your kitchen will thank you!

