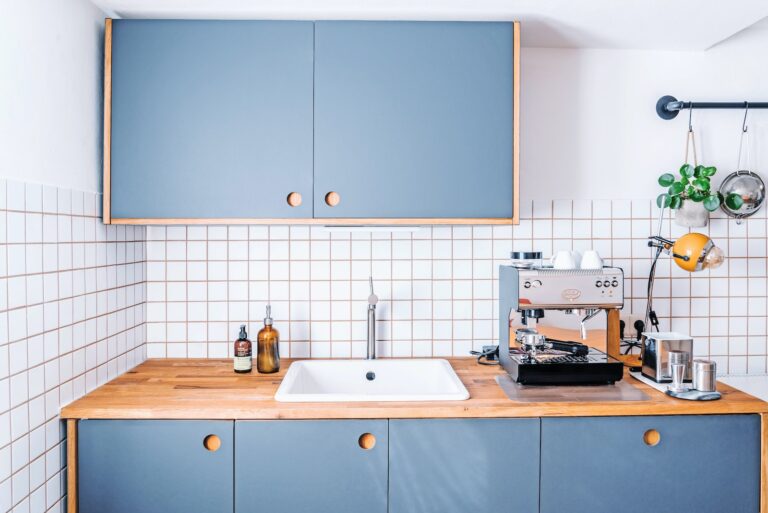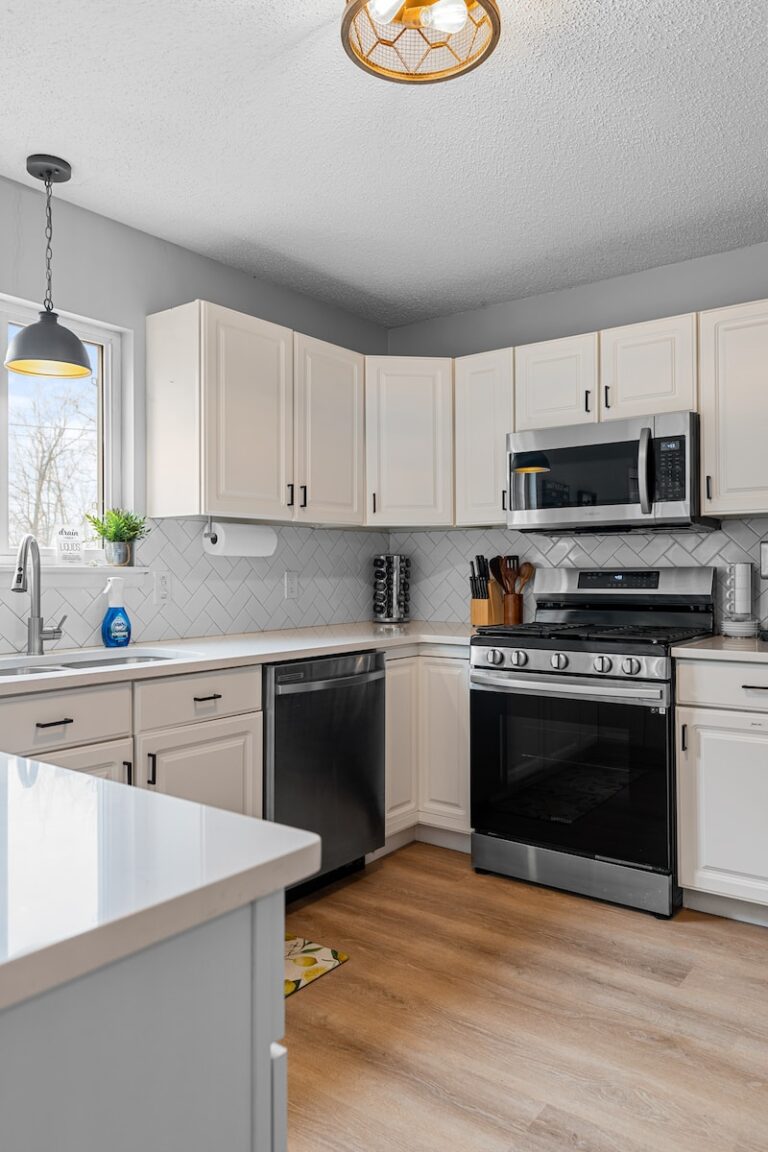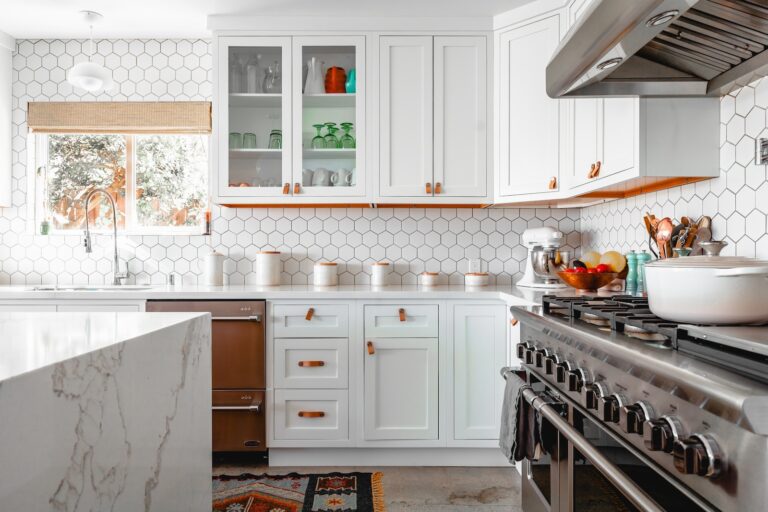
How To Paint Your Old Kitchen Cabinets?
Are your old kitchen cabinets looking dull and outdated? Painting them is an affordable and easy way to give your kitchen a fresh new look. With the right tools and techniques, you can transform your cabinets into a stunning focal point that will impress your guests.
In this guide, we’ll walk you through the step-by-step process of painting your old kitchen cabinets. We’ll cover everything from selecting the right paint and tools to preparing your cabinets for painting and applying the final coat. Whether you’re a DIY novice or an experienced painter, this guide will help you achieve professional-quality results and breathe new life into your kitchen.
How to Paint Your Old Kitchen Cabinets: A Step-by-Step Guide
1. Gather Supplies
When it comes to painting your old kitchen cabinets, preparation is key. Make sure you have all the necessary supplies before you begin. You’ll need:
- Paint
- Primer
- Sandpaper (120 and 220 grit)
- Paintbrushes and rollers
- Degreaser
- Tape
- Dropsheets
Once you have everything you need, you can move on to the next step.
2. Remove Cabinet Doors and Hardware
Before you start painting, it’s important to remove the cabinet doors and hardware. This will allow you to paint the cabinets evenly and without any obstructions. Use tape to mark the doors and drawers so you know which ones go where when it’s time to reassemble.
3. Clean and Degrease
Use a degreaser to clean the cabinets thoroughly. This is an important step because it will ensure that the paint adheres properly to the surface. Make sure to get into all the nooks and crannies, and wipe down the cabinets with a clean cloth when you’re done.
4. Sand the Cabinets
Use 120-grit sandpaper to sand the cabinets. This will help the primer and paint adhere better. Sand in the direction of the wood grain, and be sure to sand all surfaces that will be painted. When you’re done, wipe down the cabinets with a clean cloth to remove any dust.
5. Apply Primer
Apply a coat of primer to the cabinets. This will help the paint adhere better and provide a smooth surface for painting. Use a brush or roller, and make sure to apply the primer evenly. Let the primer dry according to the manufacturer’s instructions.
6. Sand the Cabinets Again
Once the primer is dry, use 220-grit sandpaper to sand the cabinets again. This will help to smooth out any rough spots and ensure a smooth finish when you paint.
7. Apply Paint
Now it’s time to apply the paint. Use a brush or roller, and make sure to apply the paint evenly. You may need to apply two or three coats, depending on the color and quality of the paint. Let each coat dry completely before applying the next one.
8. Reattach Cabinet Doors and Hardware
Once the paint is dry, it’s time to reattach the cabinet doors and hardware. Use the tape markings you made earlier to make sure everything goes back in the right place. Tighten all screws and make sure everything is secure.
9. Clean Up
Now that the painting is done, it’s time to clean up. Remove the tape and drop sheets, and dispose of them properly. Clean your brushes and rollers according to the manufacturer’s instructions.
10. Enjoy Your Newly Painted Cabinets
Now that your cabinets are freshly painted, take a step back and admire your hard work. You’ll love the new look of your kitchen, and you’ll be glad you took the time to do it right.
Benefits of Painting Your Old Cabinets:
- Affordable way to update your kitchen
- Allows you to customize the color to your liking
- Can extend the life of your cabinets
Painting vs. Replacing Your Cabinets:
- Painting is a more affordable option
- Painting takes less time than replacing cabinets
- Painting allows you to customize the look of your cabinets
- Replacing cabinets may be necessary if they are damaged beyond repair
In conclusion, painting your old kitchen cabinets is a great way to update your kitchen without breaking the bank. With the right supplies and a little bit of elbow grease, you can have a whole new look in no time.
Frequently Asked Questions
Here are some common questions about painting old kitchen cabinets.
What tools do I need to paint my old kitchen cabinets?
Before you start painting, you’ll need some tools. You’ll need a screwdriver to remove the cabinet doors and hardware, sandpaper to rough up the surfaces, a good quality paintbrush, and paint. You may also want to use a paint sprayer for a smoother finish.
Other useful tools include painter’s tape to protect surfaces you don’t want to paint, drop cloths to protect your floors, and a sanding block to smooth out any rough spots.
Should I remove the cabinet doors before painting?
It’s usually best to remove the cabinet doors and hardware before painting. This will make it easier to paint the cabinets and ensure that you don’t accidentally paint over the hardware. It’s also a good opportunity to thoroughly clean the cabinets and hardware.
If you prefer not to remove the doors, you can still paint them in place. Just be sure to use painter’s tape to protect any surfaces you don’t want to paint.
Do I need to sand my old kitchen cabinets before painting?
Yes, it’s important to sand your old kitchen cabinets before painting. Sanding will help rough up the surfaces so that the paint will adhere better. It will also help smooth out any rough spots or imperfections in the cabinets.
Start with a coarse sandpaper (such as 80 grit) and work your way up to a finer grit (such as 220 grit) for a smoother finish. Be sure to wipe down the cabinets with a damp cloth after sanding to remove any dust.
What type of paint should I use to paint my old kitchen cabinets?
You’ll want to use a high-quality paint that is specifically formulated for cabinets. Look for a paint that is durable, easy to clean, and has a smooth finish. Many people prefer to use a semi-gloss or gloss paint for cabinets, as it will be more resistant to moisture and stains.
It’s also important to choose the right color. Lighter colors will make your kitchen feel brighter and more spacious, while darker colors will create a more dramatic look.
How long will it take to paint my old kitchen cabinets?
The amount of time it takes to paint your old kitchen cabinets will depend on a variety of factors, including the size of your kitchen, the number of cabinets you have, and the type of paint you are using. It’s best to plan on at least a few days to complete the project.
Be sure to allow enough time for each coat of paint to dry completely before applying the next coat. You may also want to plan on leaving the cabinet doors off for a few days to allow the paint to fully cure.
Painting your old kitchen cabinets is a great way to give your kitchen a fresh and updated look. It’s a cost-effective solution that can save you thousands of dollars compared to replacing your entire kitchen.
Follow these simple steps to ensure a successful cabinet painting project: First, remove all cabinet hardware and doors. Next, clean and sand the cabinets thoroughly to ensure the paint adheres properly. Finally, apply a high-quality primer and paint to achieve a smooth and durable finish.
With a little time and effort, you can transform your outdated kitchen into a stylish and inviting space. Don’t be afraid to get creative with your color choices and finishes – after all, this is your chance to personalize your kitchen and make it truly unique to you and your family. So roll up your sleeves and get painting!