How To Build Kitchen Island With Cabinets?
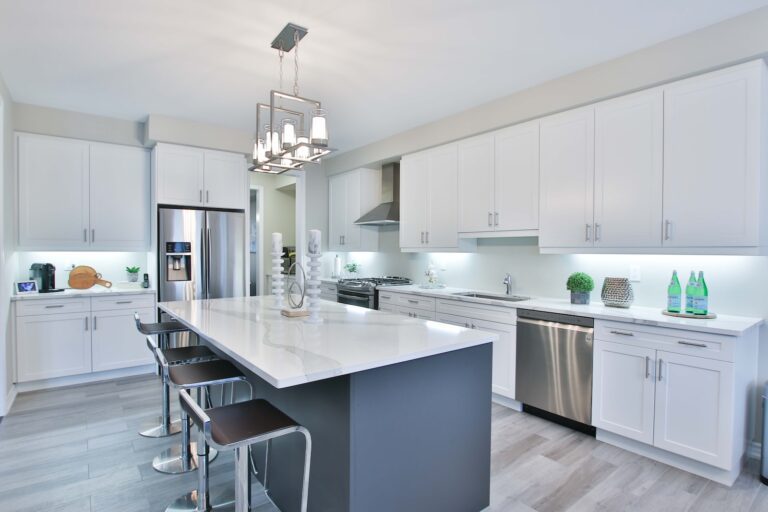
Are you tired of your kitchen lacking counter space? A kitchen island with cabinets can be the perfect solution to not only add extra counter space but also provide additional storage. Building a kitchen island may seem like a daunting task, but with the right materials and a little bit of know-how, it can be a fun and rewarding project. In this guide, we will walk you through the step-by-step process of building your very own kitchen island with cabinets. Get ready to transform your kitchen into a functional and stylish space!
- Measure and cut the base cabinets to your desired length.
- Attach the cabinets together with screws and secure them to the floor.
- Add a countertop to the cabinets using adhesive and screws.
- Install any additional features like drawers, shelves, or a sink.
- Finish off the island with trim and paint or stain to match your kitchen decor.
How to Build a Kitchen Island with Cabinets
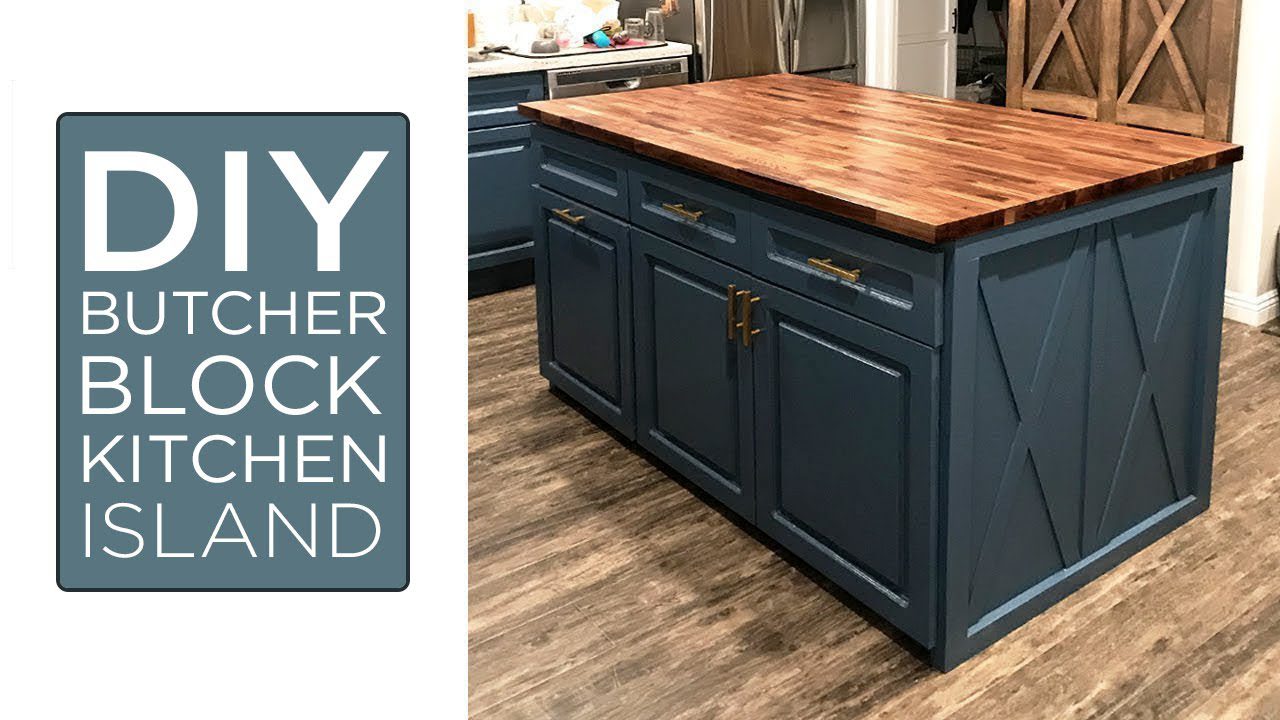
Building a kitchen island with cabinets is a great way to add extra storage and counter space to your kitchen. Whether you are an experienced DIYer or a beginner, this project can be completed in a weekend with the right tools and materials. In this article, we will guide you through the steps to build a kitchen island with cabinets.
1. Plan Your Kitchen Island
The first step in building a kitchen island with cabinets is to plan out your project. Determine the size and shape of your island, as well as the type of cabinets you want to use. Consider the function of your island, whether it will be used for cooking, dining, or storage. Sketch out your design and measure the space where the island will be placed.
Once you have a plan in place, gather all the necessary materials and tools. You will need cabinets, countertop material, screws, wood glue, a drill, a circular saw, a jigsaw, and a level.
2. Assemble the Cabinets
Start by assembling the cabinets according to the manufacturer’s instructions. Use wood glue and screws to attach the sides and bottom of the cabinets. Use a level to ensure that the cabinets are even.
When the cabinets are assembled, place them in the desired location for your island. Use shims to level the cabinets if necessary.
3. Attach the Countertop
Cut your countertop material to fit the size of your island. Place the countertop on top of the cabinets and attach it using screws from underneath the cabinets. Use a jigsaw to cut out any holes for a sink or cooktop.
4. Add Decorative Trim
To give your island a finished look, add decorative trim around the edges of the countertop and base of the cabinets. Use a miter saw to cut the trim to size and attach it with wood glue and finishing nails.
5. Paint or Stain Your Island
Once the trim is in place, you can paint or stain your island to match your existing kitchen décor. Use a paintbrush or roller to apply paint or stain, and allow it to dry completely before using your island.
6. Benefits of a Kitchen Island
A kitchen island with cabinets can provide a multitude of benefits for your kitchen. It can add extra countertop space for meal prep, as well as additional storage for pots, pans, and kitchen utensils. A kitchen island can also serve as a dining area, providing a place for friends and family to gather and eat.
7. Vs. Buying a Pre-Made Island
Building your own kitchen island with cabinets can be more affordable than buying a pre-made island from a store. You can customize the size and shape of your island to fit your kitchen perfectly, and choose the type of cabinets and countertop material that best suits your needs.
8. Maintenance of Your Island
To keep your kitchen island with cabinets looking great, it is important to maintain it properly. Wipe down the countertop and cabinets regularly with a damp cloth to remove any food spills or stains. Avoid using harsh chemicals or abrasive sponges that can scratch the surface of your island.
9. Conclusion
Building a kitchen island with cabinets is a fun and rewarding DIY project that can add both function and style to your kitchen. With the right tools and materials, you can create a custom island that fits your kitchen perfectly.
10. Additional Tips
– Consider adding electrical outlets to your island for added convenience.
– Use a level throughout the project to ensure that your island is even.
– Choose cabinets with soft-close drawers and doors for a quieter kitchen.
Frequently Asked Questions
Here are some common questions and answers about building a kitchen island with cabinets:
What materials do I need to build a kitchen island with cabinets?
To build a kitchen island with cabinets, you will need a variety of materials, including cabinets, a countertop, screws, wood glue, and a drill. You may also need additional materials depending on the specific design of your island, such as molding, trim, or paint.
The specific materials you need will depend on your design and the size of your island. It’s important to carefully plan out your design and make a list of all the materials you will need before starting your project.
How do I attach cabinets to my kitchen island?
Attaching cabinets to your kitchen island requires careful planning and precise measurements. To attach your cabinets, you will need to use screws and wood glue to secure them to the base of the island.
It’s important to make sure that your cabinets are level and secured tightly to the island. You may also want to add additional support, such as brackets or corner braces, to ensure that your cabinets are securely attached.
What type of countertop is best for a kitchen island with cabinets?
When choosing a countertop for your kitchen island with cabinets, there are a variety of options to consider. Some popular choices include granite, marble, quartz, and butcher block.
The best type of countertop for your island will depend on your specific needs and preferences. Granite and quartz are durable and easy to maintain, while marble and butcher block are more prone to damage but can add a unique look to your island.
How can I customize my kitchen island with cabinets?
There are many ways to customize your kitchen island with cabinets, including adding decorative molding, choosing a unique countertop, or painting the cabinets a different color.
You can also add additional features to your island, such as a built-in wine rack, a spice rack, or additional storage compartments. The possibilities are endless, so take some time to consider what features you want to add to your island.
Do I need to hire a professional to build my kitchen island with cabinets?
While building a kitchen island with cabinets can be a complex project, it’s possible to do it yourself with the right tools and materials. However, if you’re not comfortable with woodworking or don’t have experience with DIY projects, it may be best to hire a professional to ensure that your island is built correctly.
A professional can also provide valuable insight and advice on the design and materials for your island, which can help ensure that it meets your needs and looks great in your kitchen.
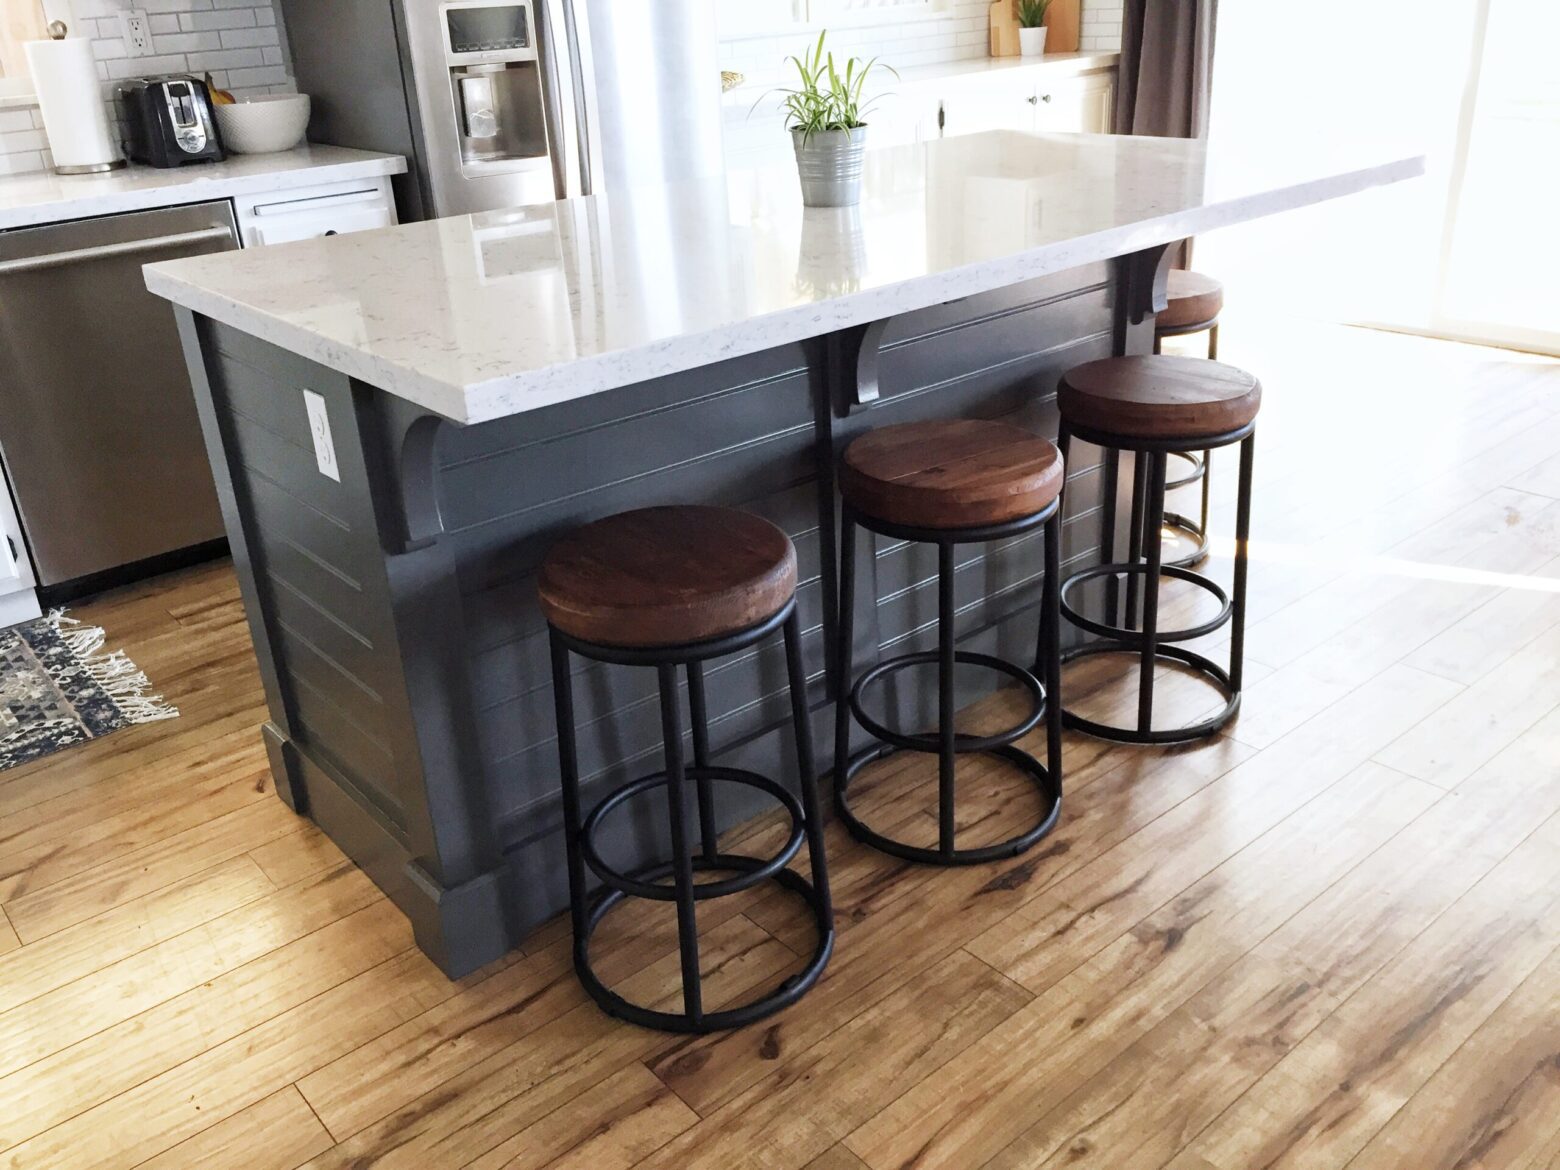
In conclusion, building a kitchen island with cabinets can be a rewarding and cost-effective project. With the right tools, materials, and a step-by-step plan, you can create a functional and stylish centerpiece for your kitchen. Whether you are looking to add extra storage, counter space, or seating, a kitchen island can provide all three.
First, make sure to measure your space carefully and choose the right cabinets and countertop to fit your needs. Consider the style and color scheme of your kitchen to ensure that your island complements the overall design. Don’t be afraid to get creative with your finishing touches, such as adding decorative hardware, lighting, or a unique paint color.
Finally, be patient and take your time during the construction process. Building a kitchen island with cabinets can be a challenging project, but it is also a great opportunity to learn new skills and improve your DIY abilities. With dedication and attention to detail, you can create a beautiful and functional kitchen island that adds value and enjoyment to your home.

