Expert Tips For Painting Wood Cabinets: Achieve A Professional Finish
Are you tired of your outdated wood cabinets bringing down the aesthetic of your space? Painting them can be a great solution, but achieving a professional finish can be challenging without the right knowledge and technique. Fortunately, we’ve gathered expert tips to help you achieve the look you desire and transform your cabinets into a stunning feature of your home. From preparation to finishing touches, we’ve got you covered.
Expert Tips for Painting Wood Cabinets: Achieve a Professional Finish
Painting wood cabinets is a great way to give your kitchen or bathroom a fresh new look without spending a lot of money. However, if you want your cabinets to look like they were painted by a professional, there are some important steps you need to follow. In this article, we’ll share some expert tips for painting wood cabinets that will help you achieve a professional finish.
1. Choose the Right Paint
Choosing the right paint is the first step to achieving a professional finish. You’ll want to use a high-quality paint that is specifically designed for cabinets. Look for a paint that has a hard, durable finish and is resistant to chipping and peeling. You may also want to consider using a paint with a satin or semi-gloss finish, as these finishes are easier to clean and more durable than flat finishes.
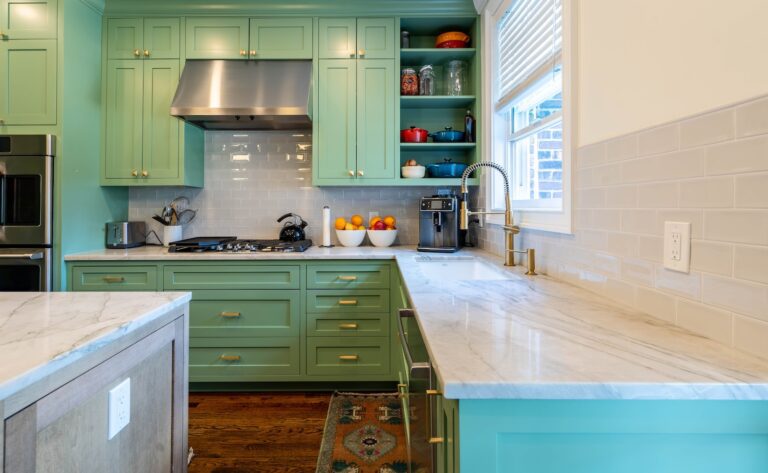
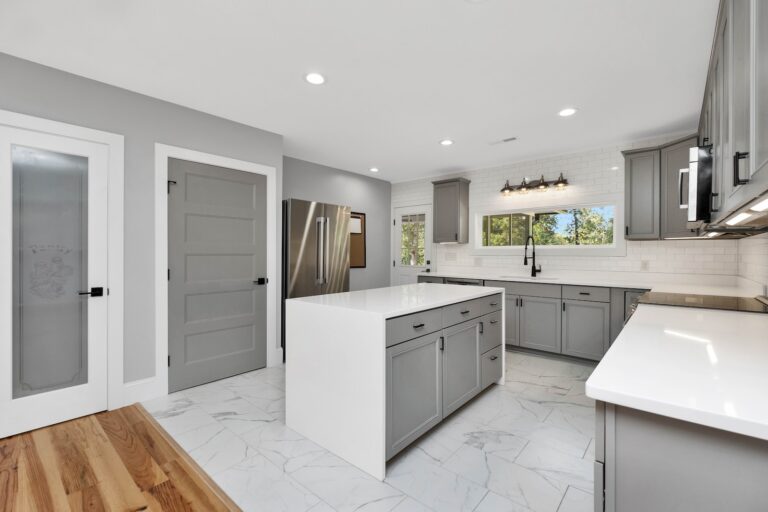
When choosing a color, consider the overall style of your kitchen or bathroom. If you have a modern kitchen, you may want to go with a bold, high-contrast color. If your kitchen is more traditional, a neutral color like white or beige may be a better choice.
2. Remove the Cabinet Doors and Hardware
Before you start painting, you’ll need to remove the cabinet doors and hardware. This will make it easier to paint the cabinets and ensure that you get a smooth, even finish. Use a screwdriver to remove the hardware, and label each piece so you know where it goes when it’s time to reassemble the cabinets.
Once the doors and hardware are removed, clean the cabinets thoroughly with a degreaser to remove any dirt, grime, or grease. This will help the paint adhere better and ensure a long-lasting finish.
3. Sand the Cabinets
Sanding the cabinets is an important step that many people skip, but it can make a big difference in the final result. Sanding removes any rough spots, bumps, or imperfections on the surface of the cabinets, and it also helps the paint adhere better.
Start by using a medium-grit sandpaper (around 120 grit) to sand the cabinets. Be sure to sand in the direction of the wood grain, and don’t press too hard. You just want to remove the shiny surface of the cabinets, not sand down to the bare wood.
Once you’ve sanded the cabinets with medium-grit sandpaper, switch to a fine-grit sandpaper (around 220 grit) and sand again. This will smooth out the surface of the cabinets and prepare them for painting.
4. Prime the Cabinets
Priming the cabinets is an important step that will help the paint adhere better and ensure a smooth, even finish. Use a high-quality primer that is specifically designed for cabinets, and apply it evenly with a brush or roller.
Be sure to prime both the cabinet doors and the frames, and allow the primer to dry completely before moving on to the next step.
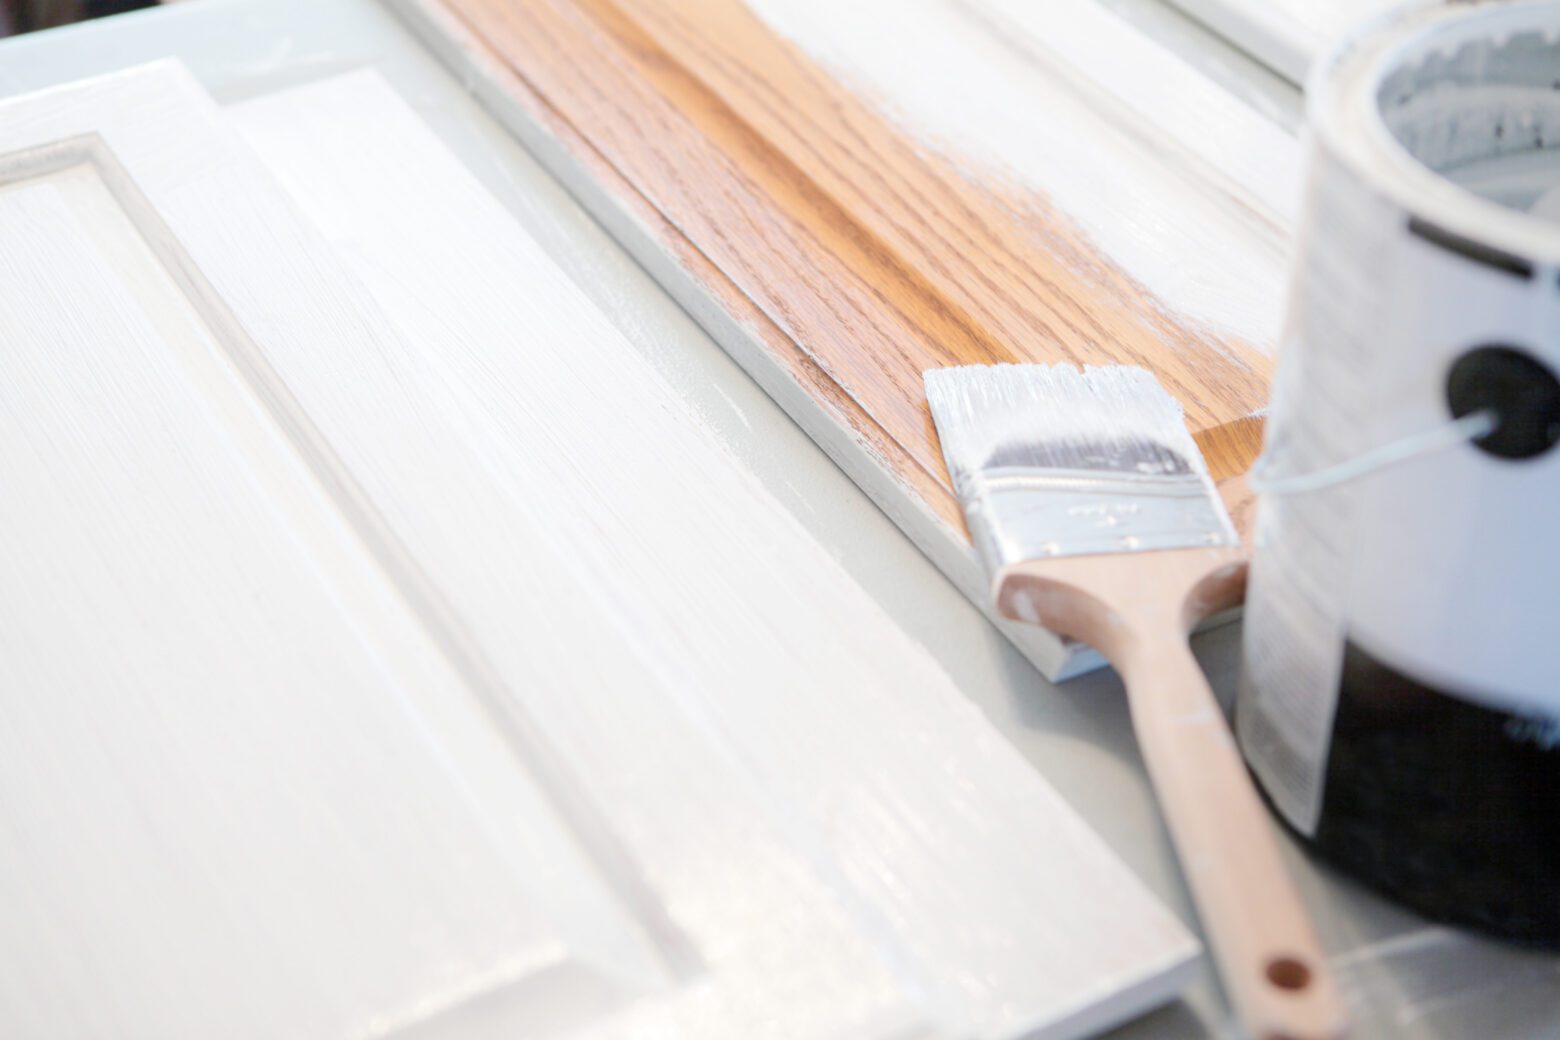
5. Paint the Cabinets
Finally, it’s time to paint the cabinets. Use a high-quality paint that is specifically designed for cabinets, and apply it evenly with a brush or roller. Be sure to paint both the cabinet doors and the frames, and allow the paint to dry completely before reassembling the cabinets.
If you’re using a light-colored paint, you may need to apply two or three coats to achieve the desired coverage. Be sure to let each coat dry completely before applying the next.
6. Reassemble the Cabinets
Once the paint is dry, it’s time to reassemble the cabinets. Use your labels to ensure that you put the hardware back in the right place, and be careful not to scratch the new paint.
7. Clean Up
After you’ve finished painting and reassembling the cabinets, it’s important to clean up properly. Dispose of any leftover paint or materials in accordance with your local regulations, and clean your brushes and rollers thoroughly so you can use them again in the future.
8. Benefits of Painting Wood Cabinets
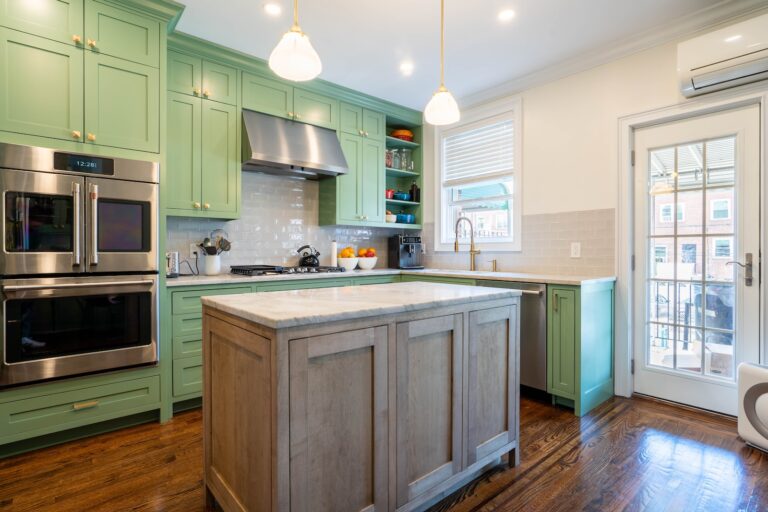
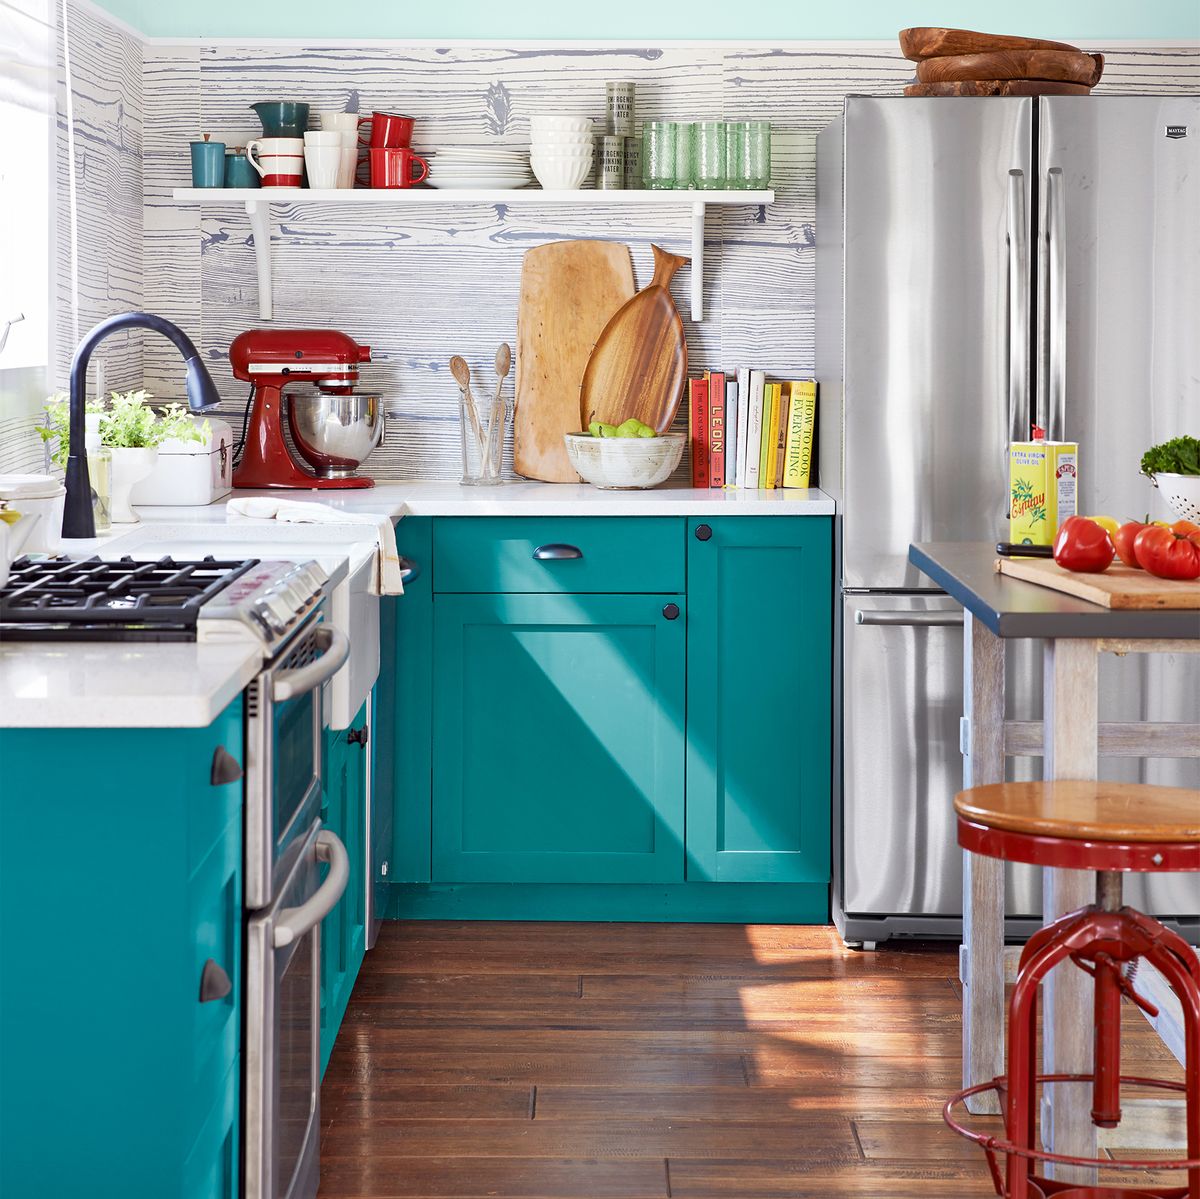
Painting wood cabinets has many benefits. It’s a cost-effective way to update your kitchen or bathroom, and it can give your space a fresh new look. Painting also allows you to customize the color and style of your cabinets to match your personal tastes and the overall style of your home.
9. Painting vs. Refacing Cabinets
When it comes to updating your cabinets, you have two main options: painting or refacing. Refacing involves replacing the doors, drawer fronts, and hardware, while leaving the existing cabinet boxes in place. This can be a more expensive option, but it can also give you a whole new look.
Painting, on the other hand, is a more affordable option that can still give you a great result. It’s also a good option if your cabinets are in good condition but just need a fresh coat of paint.
10. Conclusion
Painting wood cabinets is a great way to update your kitchen or bathroom without spending a lot of money. By choosing the right paint, removing the doors and hardware, sanding, priming, and painting carefully, you can achieve a professional finish that will last for years to come. Whether you’re looking to update your cabinets for personal enjoyment or to increase the value of your home, painting is a great option to consider.
Frequently Asked Questions
What are the best paints for wood cabinets?
When it comes to painting wood cabinets, it is important to choose the right type of paint to achieve a professional finish. The best options for wood cabinets are oil-based or water-based paints with a semi-gloss or high-gloss finish. These types of paints are durable and easy to clean, and they provide a smooth and uniform appearance.
It is also important to choose a paint that is specifically designed for wood cabinets, as these types of paints are formulated to adhere well to wood surfaces and resist chipping and peeling over time. Look for products that offer good coverage and a range of colors to choose from, so you can find the perfect shade for your kitchen or bathroom cabinets.
What is the best preparation process for painting wood cabinets?
Before you begin painting your wood cabinets, it is important to properly prepare the surfaces to ensure a smooth and even finish. Start by removing the cabinet doors and hardware, and clean the surfaces thoroughly with a degreaser or TSP solution to remove any dirt, grease, or grime.
Next, sand the surfaces lightly with a fine-grit sandpaper to create a rough texture that will help the paint adhere. Be sure to fill any holes or gaps with wood filler and let it dry completely before sanding again. Finally, apply a coat of primer to the surfaces to seal the wood and create a smooth base for the paint to adhere to.
How can I achieve a smooth and even finish when painting wood cabinets?
To achieve a professional-looking finish when painting wood cabinets, it is important to take your time and use the right tools and techniques. Start by applying a thin coat of paint with a brush or roller, using long and even strokes in the direction of the wood grain.
Be sure to let the first coat dry completely before applying a second coat, and use a fine-grit sandpaper to lightly sand the surfaces between coats to remove any bumps or imperfections. Finally, apply a top coat of clear sealer to protect the paint and add a glossy finish to the surfaces.
What are some common mistakes to avoid when painting wood cabinets?
One of the most common mistakes when painting wood cabinets is not properly preparing the surfaces before painting. This can lead to chipping, peeling, and an uneven finish. Another mistake is using low-quality paint or the wrong type of paint, which can also lead to problems with adhesion and durability.
It is also important to avoid rushing the process and not letting the paint dry completely between coats, as this can lead to a tacky or uneven finish. Finally, be sure to use the right tools and techniques, such as using a brush or roller with even strokes, to achieve a smooth and professional-looking finish.
How long does it take to paint wood cabinets?
The length of time it takes to paint wood cabinets depends on several factors, such as the size and scope of the project, the type of paint and primer used, and the drying time required between coats. In general, it can take several days to a week or more to complete a cabinet painting project.
Be sure to allow plenty of time for the preparation process, including cleaning, sanding, and priming the surfaces. It is also important to take your time when applying the paint, using thin coats and allowing each coat to dry completely before applying the next. With patience and attention to detail, you can achieve a professional-looking finish that will last for years to come.
Get A Factory Finish On Your Painted Cabinets |Step By Step | THE HANDYMAN |
In conclusion, painting wood cabinets can be a daunting task, but with the right tools and techniques, you can achieve a professional finish. It’s important to properly prepare the surface by cleaning, sanding and priming the cabinets before applying the paint. Use high-quality paint and brushes to ensure a smooth and even coat. Don’t rush the process and take your time to let each coat dry completely before applying the next one.
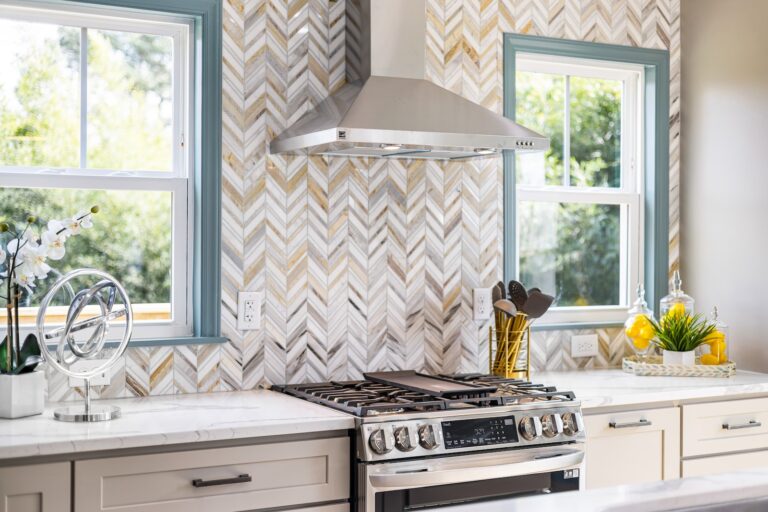
Remember to also pay attention to details like hardware and hinges, as painting them can give your cabinets a fresh new look. Don’t be afraid to get creative with your color choices, but also make sure it complements the overall design of your kitchen or space. And most importantly, have fun with the process and enjoy your newly painted cabinets!