How To Build Lower Kitchen Cabinets?
Building your own lower kitchen cabinets can be a challenging but rewarding DIY project. Not only can it save you money, but it allows you to customize your kitchen to fit your exact needs and style. With the right tools, materials, and a little bit of patience, you can create beautiful and functional cabinets that will last for years to come.
In this guide, we’ll walk you through the step-by-step process of building your own lower kitchen cabinets. From measuring and cutting the wood to assembling and finishing the cabinets, we’ll cover everything you need to know to make your dream kitchen a reality. So roll up your sleeves, grab your tools, and let’s get started!
How to Build Lower Kitchen Cabinets: A Step-by-Step Guide
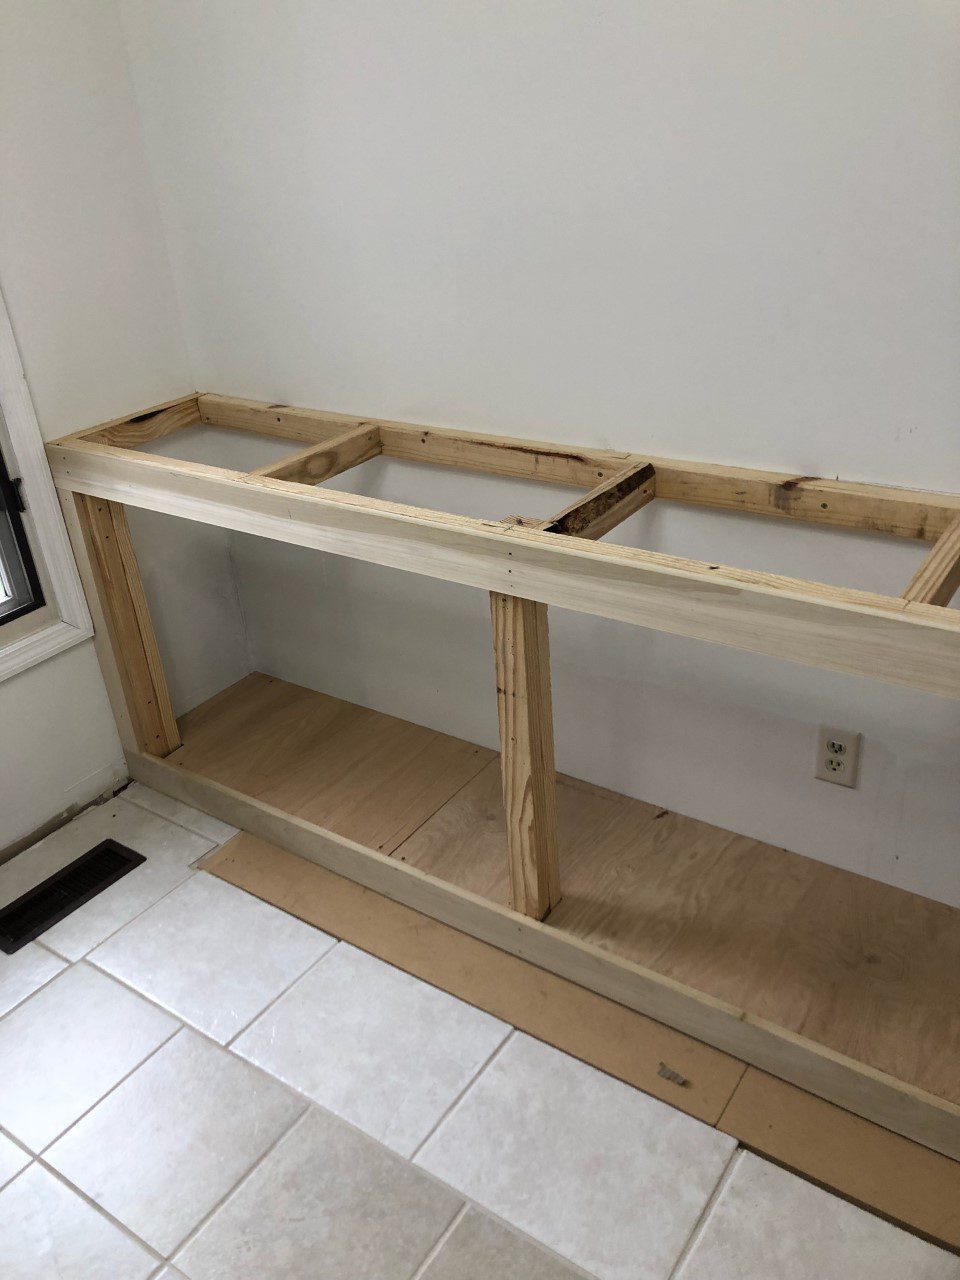
Building kitchen cabinets can be a daunting task, but with the right tools and techniques, it can be a rewarding experience. Lower kitchen cabinets, in particular, are essential for storing all your pots, pans, and kitchenware. In this article, we will provide you with a step-by-step guide on how to build lower kitchen cabinets that are both functional and stylish.
1. Planning and Measuring
Before you start building your lower kitchen cabinets, it’s essential to plan and measure the space where your cabinets will be placed. Take accurate measurements of the area and make a drawing of the cabinets. Determine the number of cabinets you need and their sizes.
Once you have a plan in place, decide on the type of cabinet you want to build. You can choose from base cabinets, sink cabinets, or corner cabinets. It’s also essential to decide on the type of wood you want to use for your cabinets. Maple, cherry, and oak are popular choices.
Next, create a list of materials you’ll need. This will include wood, hardware, screws, and other tools. Make sure you have everything you need before starting the project.
2. Building the Cabinet Box
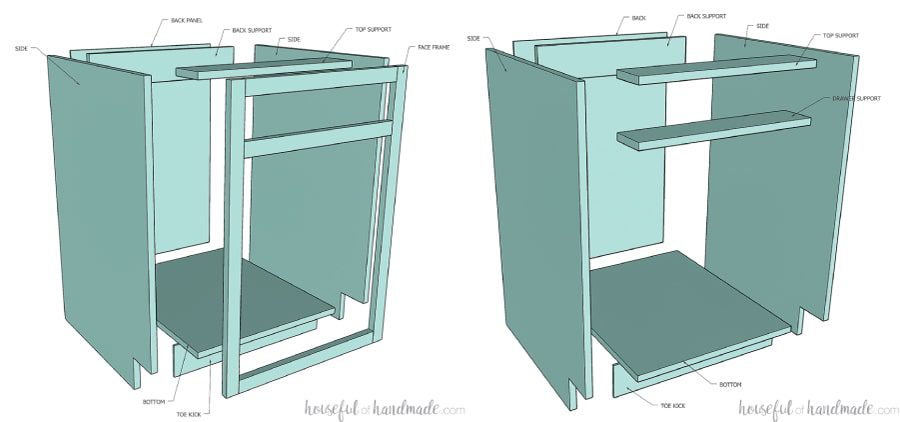
The first step in building your lower kitchen cabinets is to build the cabinet box. This is the basic structure of the cabinet. Cut the wood pieces according to your measurements and use a table saw to cut dadoes on the sides for the shelves. Then, use wood glue and clamps to assemble the box. Once the glue has dried, sand the edges and corners of the box.
3. Adding the Face Frame
A face frame is the front of the cabinet that covers the edges of the cabinet box. It gives the cabinets a finished look. Cut the face frame pieces according to your measurements and attach them to the cabinet box using wood glue and pocket screws. Make sure the face frame is square and level.
4. Installing the Shelves
The shelves are an essential part of the cabinet. Cut the shelves to the right size and install them into the dadoes you cut into the sides of the cabinet box. Use wood glue and clamps to secure them in place.
5. Installing the Drawer Slides
If you’re building cabinets with drawers, you’ll need to install drawer slides. Measure the length of the slides and mark the locations on the cabinet box. Attach the slides to the cabinet box using screws. Then, attach the other half of the slide to the drawer using screws.
6. Building the Drawer Boxes
To build the drawer boxes, cut the sides, front, and back pieces according to your measurements. Use wood glue and pocket screws to assemble the box. Then, install the drawer slides on the sides of the box. Finally, attach the drawer face to the front of the box using wood glue and pocket screws.
7. Installing the Cabinet Hardware
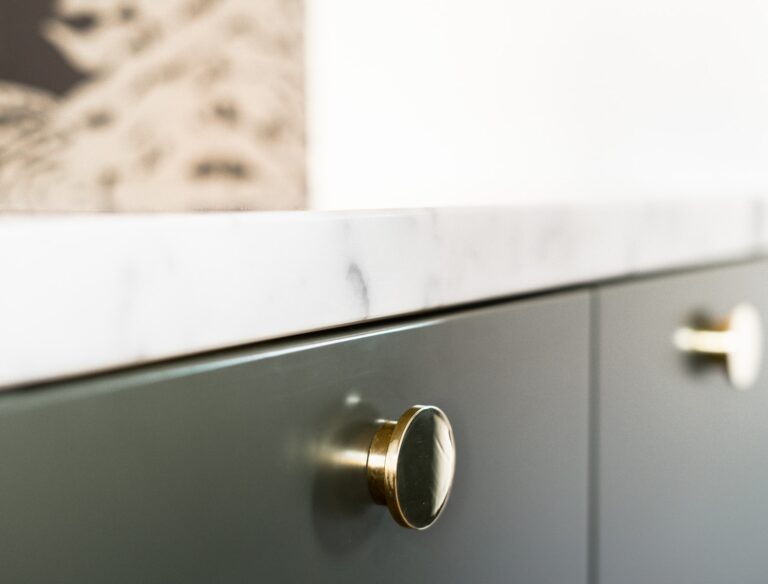
The cabinet hardware, such as knobs and pulls, add the finishing touch to your cabinets. Measure and mark the location of the hardware on the cabinet doors and drawers. Drill holes for the hardware and install them using screws.
8. Sanding and Finishing
Once you’ve completed building your lower kitchen cabinets, it’s time to sand and finish them. Use a sander to sand the cabinets and drawers. Then, apply a finish of your choice, such as paint or stain. Let the finish dry completely before installing the cabinets.
9. Benefits of Building Your Own Cabinets
Building your own lower kitchen cabinets has many benefits. It allows you to customize the cabinets to your specific needs and preferences. You can choose the wood type, hardware, and finish that you want. Additionally, building your own cabinets can save you money compared to buying pre-made cabinets.
10. Building Vs. Buying Cabinets
While buying pre-made cabinets may seem like the easier option, building your own cabinets has several advantages. When you build your own cabinets, you have complete control over the design and materials used. You can also save money by building your own cabinets, and you can customize them to fit your unique kitchen space.
In conclusion, building your own lower kitchen cabinets can be a satisfying and rewarding experience. With the right tools, materials, and techniques, you can create cabinets that are both functional and stylish. Follow this step-by-step guide to build your own lower kitchen cabinets and enjoy the benefits of having custom-made cabinets in your home.
Frequently Asked Questions
What materials do I need to build lower kitchen cabinets?
Building lower kitchen cabinets requires a few materials, including plywood, screws, wood glue, wood filler, and finishing supplies such as paint or stain. You’ll also need a circular saw, table saw, drill, and other basic woodworking tools to complete the project.
When selecting materials, choose high-quality plywood that is at least ¾ inch thick for the cabinet boxes and ¼ inch for the back panels. It’s also important to choose screws that are the appropriate length for the thickness of your materials.
How do I measure and cut the plywood for the cabinet boxes?
Start by measuring the dimensions of the space where you plan to install the cabinets. Then, use a circular saw or table saw to cut the plywood panels to the appropriate size. It’s important to measure carefully and make accurate cuts to ensure that the cabinets fit properly and are level.
When cutting the plywood, use a straight edge or guide to ensure that your cuts are straight and consistent. You can also use a jigsaw or other saw to cut out notches for plumbing or electrical fixtures, as needed.
What’s the best way to assemble the cabinet boxes?
Start by applying wood glue to the edges of the plywood panels, and then use screws to secure the panels together. It’s important to use clamps to hold the panels in place while the glue dries, and to check that the cabinet box is square before moving on to the next step.
You can reinforce the joints with braces or corner blocks as needed. Once the cabinet box is assembled, you can attach the back panel with screws or nails.
How do I install the cabinet doors and drawers?
Start by installing the hinges on the cabinet doors according to the manufacturer’s instructions. Then, install the drawer slides on the sides of the cabinet box and on the bottom of the drawers. It’s important to measure carefully and make sure that the slides are level and aligned before attaching them.
Once the slides are installed, you can attach the doors and drawers to the cabinet box. Adjust the hinges and slides as needed to ensure that the doors and drawers open and close smoothly.
How do I finish and install the cabinets?
Start by filling any gaps or imperfections in the wood with wood filler, and sanding the surfaces smooth. Then, apply a primer and paint or stain as desired. It’s important to allow the finish to dry completely before installing the cabinets.
To install the cabinets, use a level to mark the position of the cabinets on the wall, and then attach them securely with screws. You can also install trim and hardware to complete the look of your new kitchen cabinets.
In conclusion, building lower kitchen cabinets can be a fun and rewarding project for those who enjoy DIY projects. With the right tools and materials, anyone can create custom cabinets that fit their specific kitchen space and design preferences.
By following the steps outlined in this guide, you can ensure that your cabinets are sturdy, functional, and aesthetically pleasing. Remember to measure carefully, use quality materials, and take your time throughout the process.
Whether you are a seasoned woodworker or a beginner, building your own lower kitchen cabinets can be a great way to save money and add a personal touch to your home. So why not give it a try and see what you can create? Happy building!

